Since my last water fill, I’ve noticed that the freshwater pressure pump cycles infrequently for a second to re-build pressure. And there is a small amount of water dripping into the main bilge through a limber hole on the starboard side. Plus, my water level in the tank is going down much faster than it should. All those point to a leak in my pressurized water system. I did a quick look at the likely locations (tees in the line, hot water boiler) but no leaks were evident. So, I’ll have to do some more intensive searching to find the location.
I noticed a loose line at the top of the mast on my last passage and can’t figure out what it is. It might be the tail end of the line used for the SSB antenna, but I’m not sure. My climbing gear doesn’t work on my thick lines, so I will need help in getting up and down. One of the local free-lancers here in St. Lucia will probably do this for me (I’ve helped him on two other boats already) but I want to combine it with some other work for him and I don’t have any at the moment
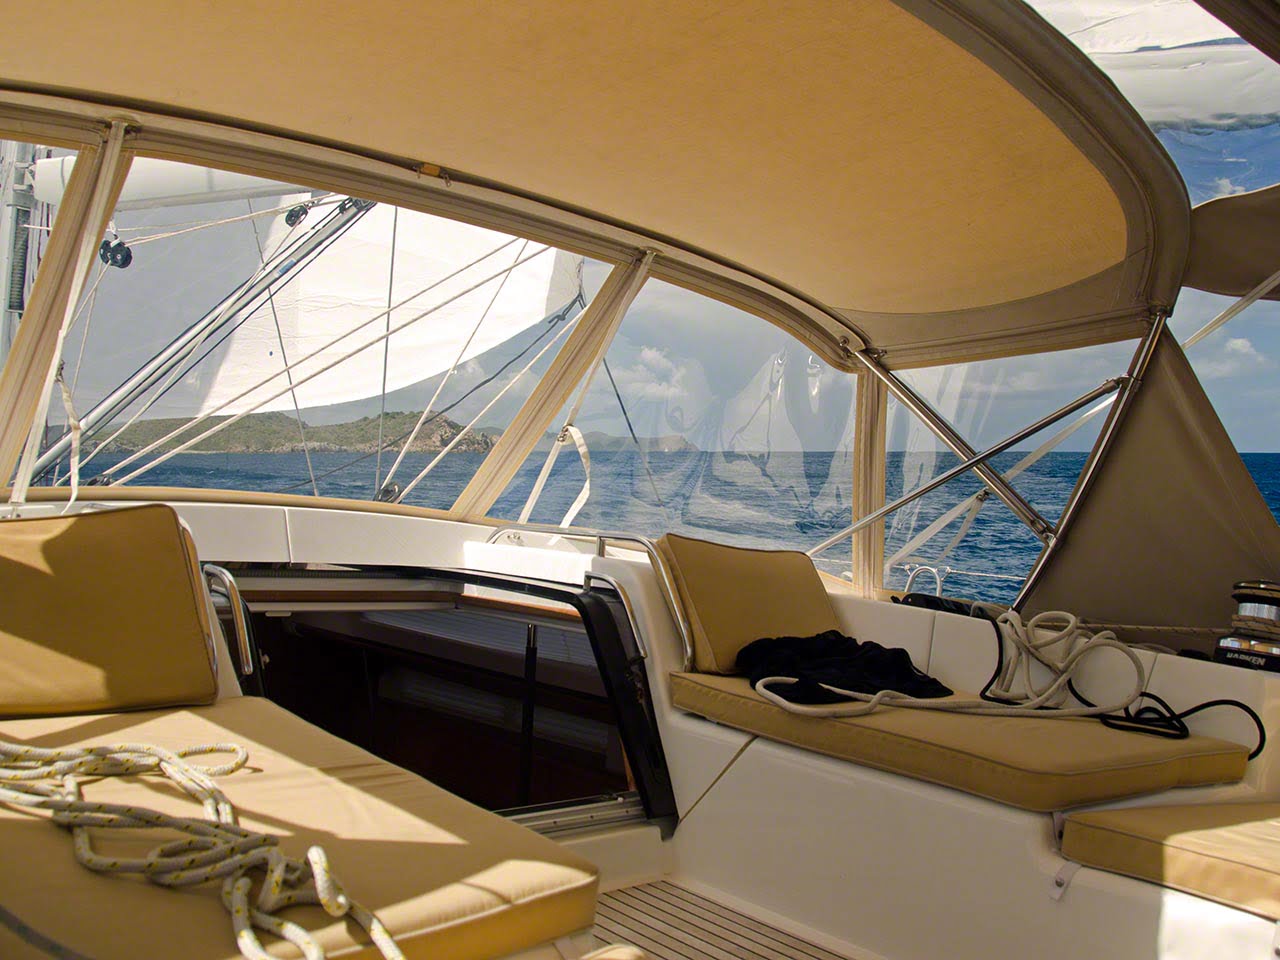 The old Sunbrella is leaking like a sieve. I’ve already applied it to some the dodger, and it was a great success. The wheel and winch covers have been done as well, and the cushions are drying out right now. I will use a brush for the Sunbrella that is already mounted or close to clear windows and will use the spray bottle for the cushions. I will do this when the winds are down.
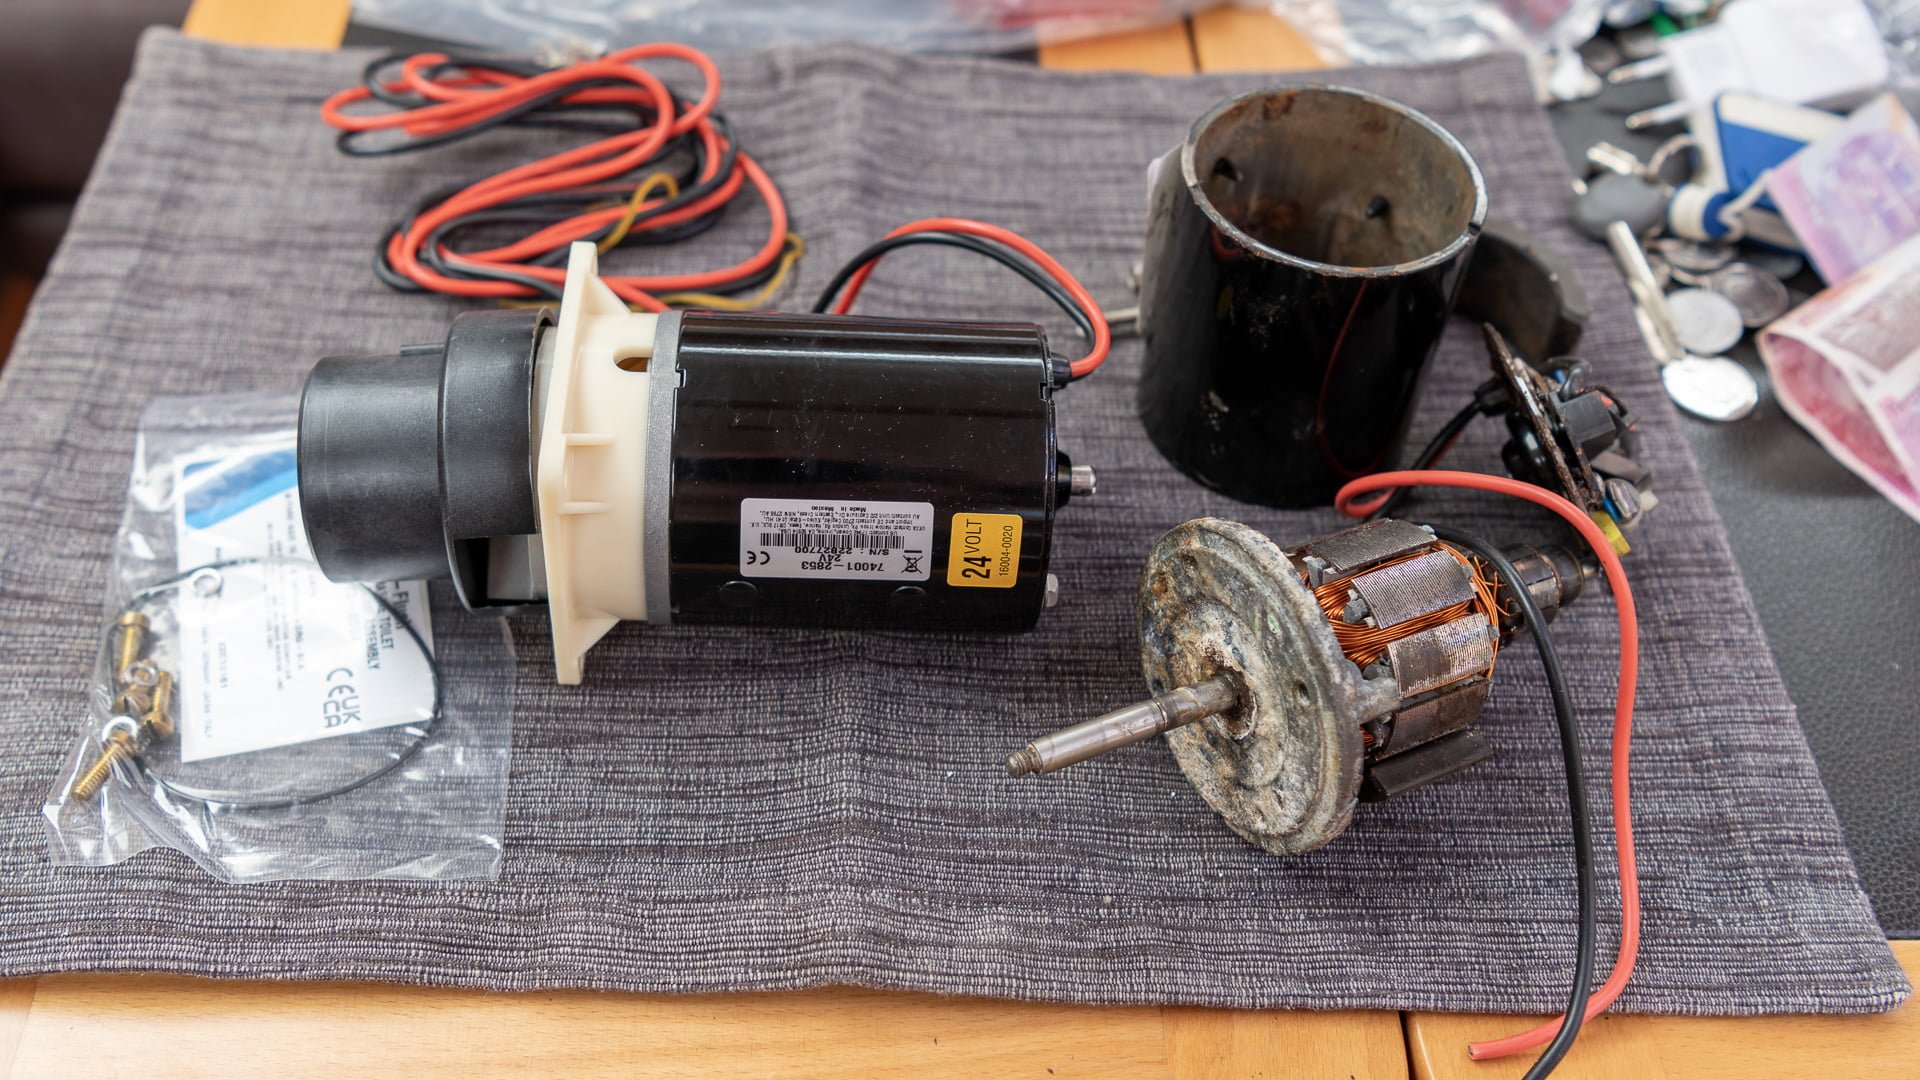
The high-pressure pump turns on right at the end of the flush cycle on the watermaker and doesn’t turn off. I have resorted to turning off the watermaker until I get this sorted out
The probe seems to have died (again). I will remove it and see if it can be fixed. This is lower priority as I’ve overridden the probe sensor and the salinity of the product water is still very good
The outside speaker for the VHF at the starboard wheel isn’t working. It might be cabling or a broken speaker. The speaker needs to be removed and checked.
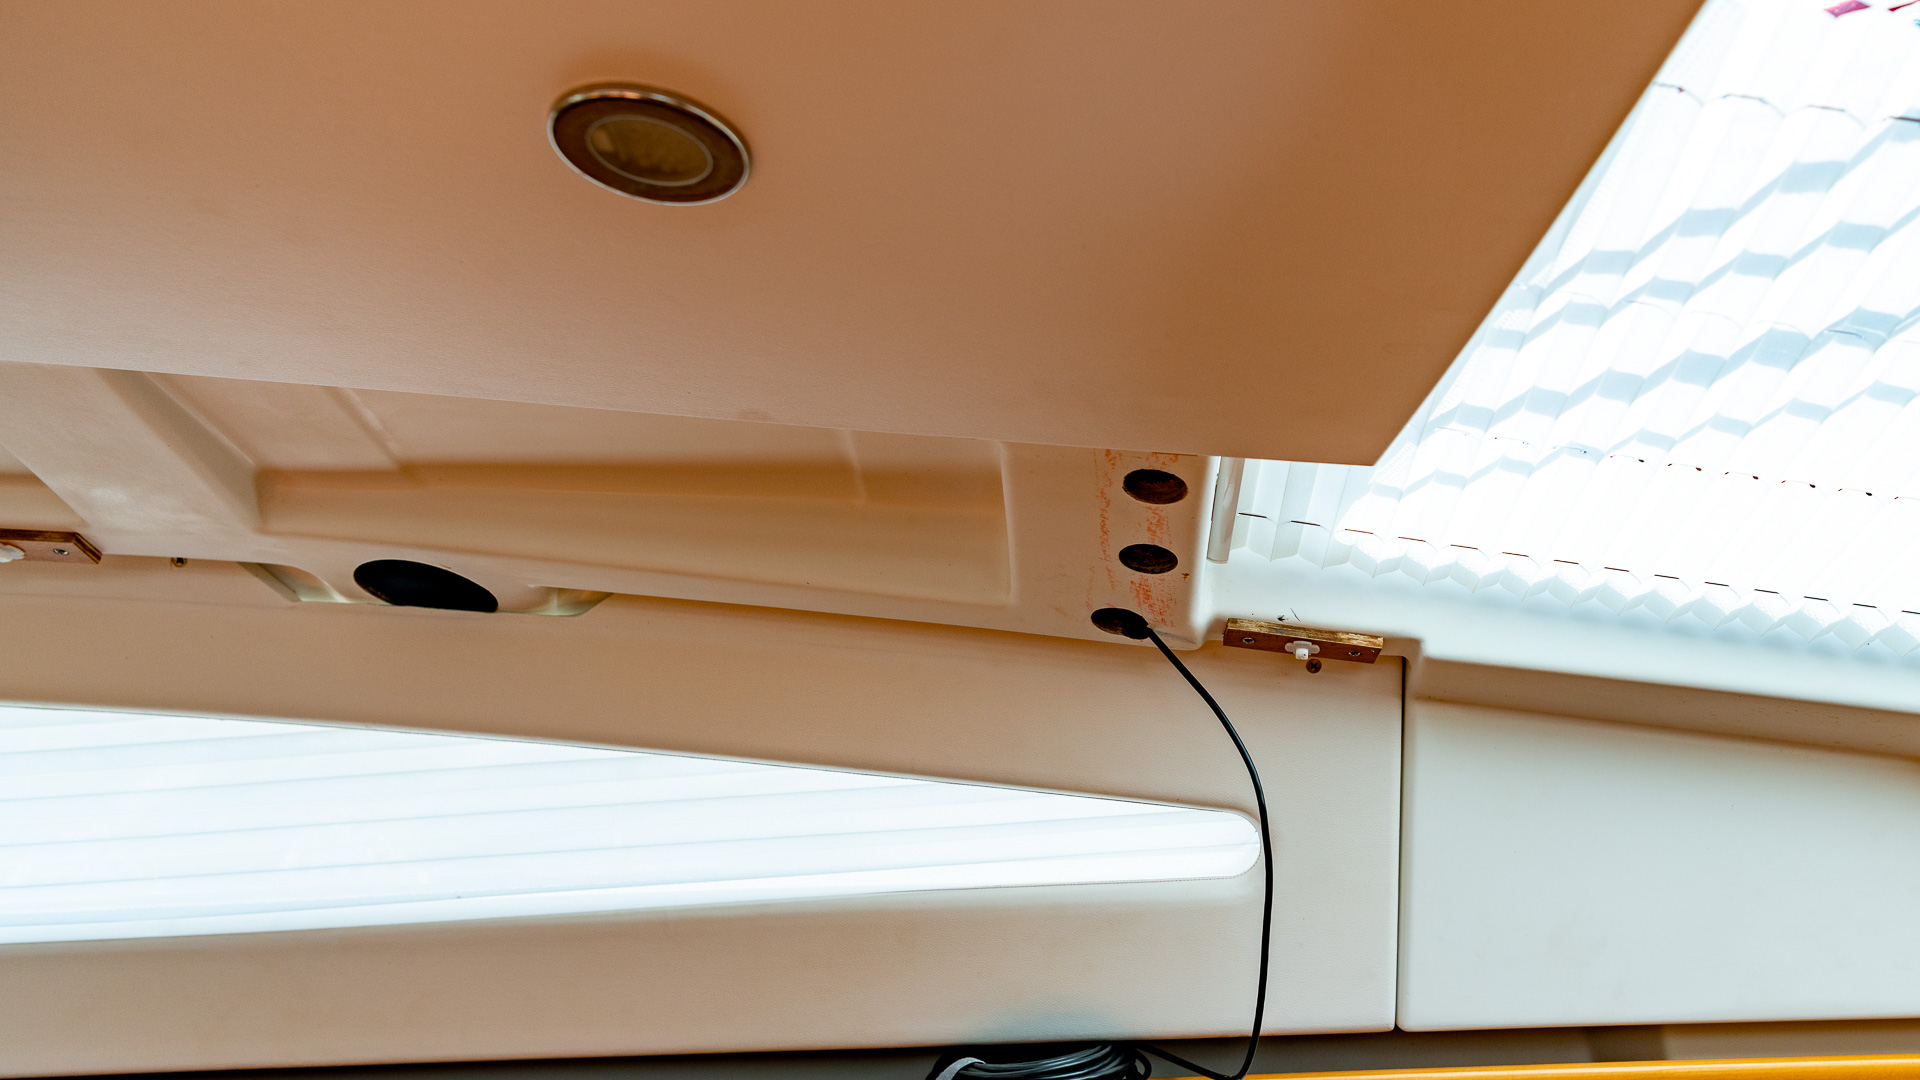
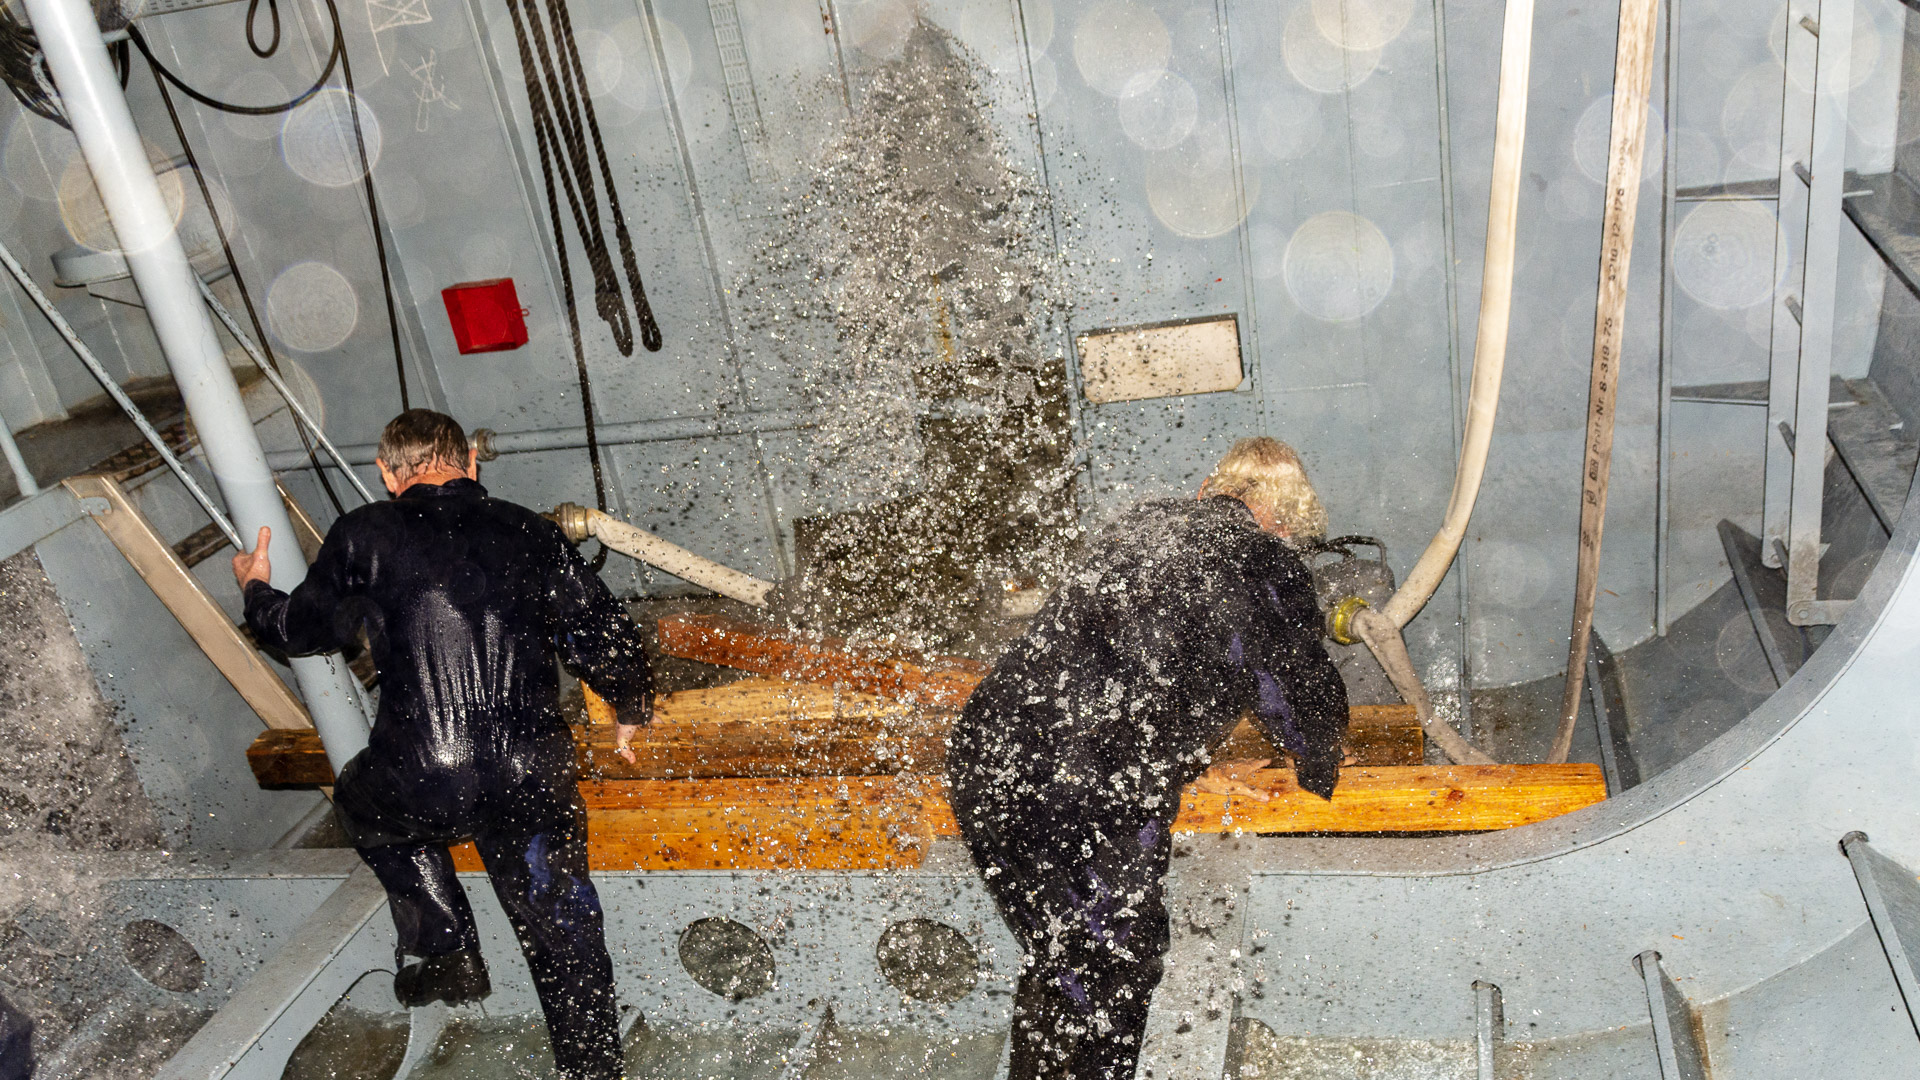
When the rain comes down very hard there are some more-or-less serious drips on both sides of the deck in the forward section of the main cabin. I can’t tell if these leaks are coming from the 4 top hatches or perhaps from leaky seals on the top forwards Plexiglas windows. I will need to remove the headliner to see if I can locate tracks or other evidence. Perhaps I’ll wait for a rainy day to make it easier.2021-10-10 I finally removed the headliner in the rain and found where the water was dripping from, but it isn’t the source of the leak so I will have to try to trace where it is coming from. I think it is one of the 4 hatches on top of the cabin deck as that is the only area higher than the leak drip that has an opening on deck.
The cover plate to the oven/stove top is binding somewhere and I think that there once was a bungee cord back there as well to help lift it up. These needs looking into, and the worst case would require removing the gimbals on the stove.
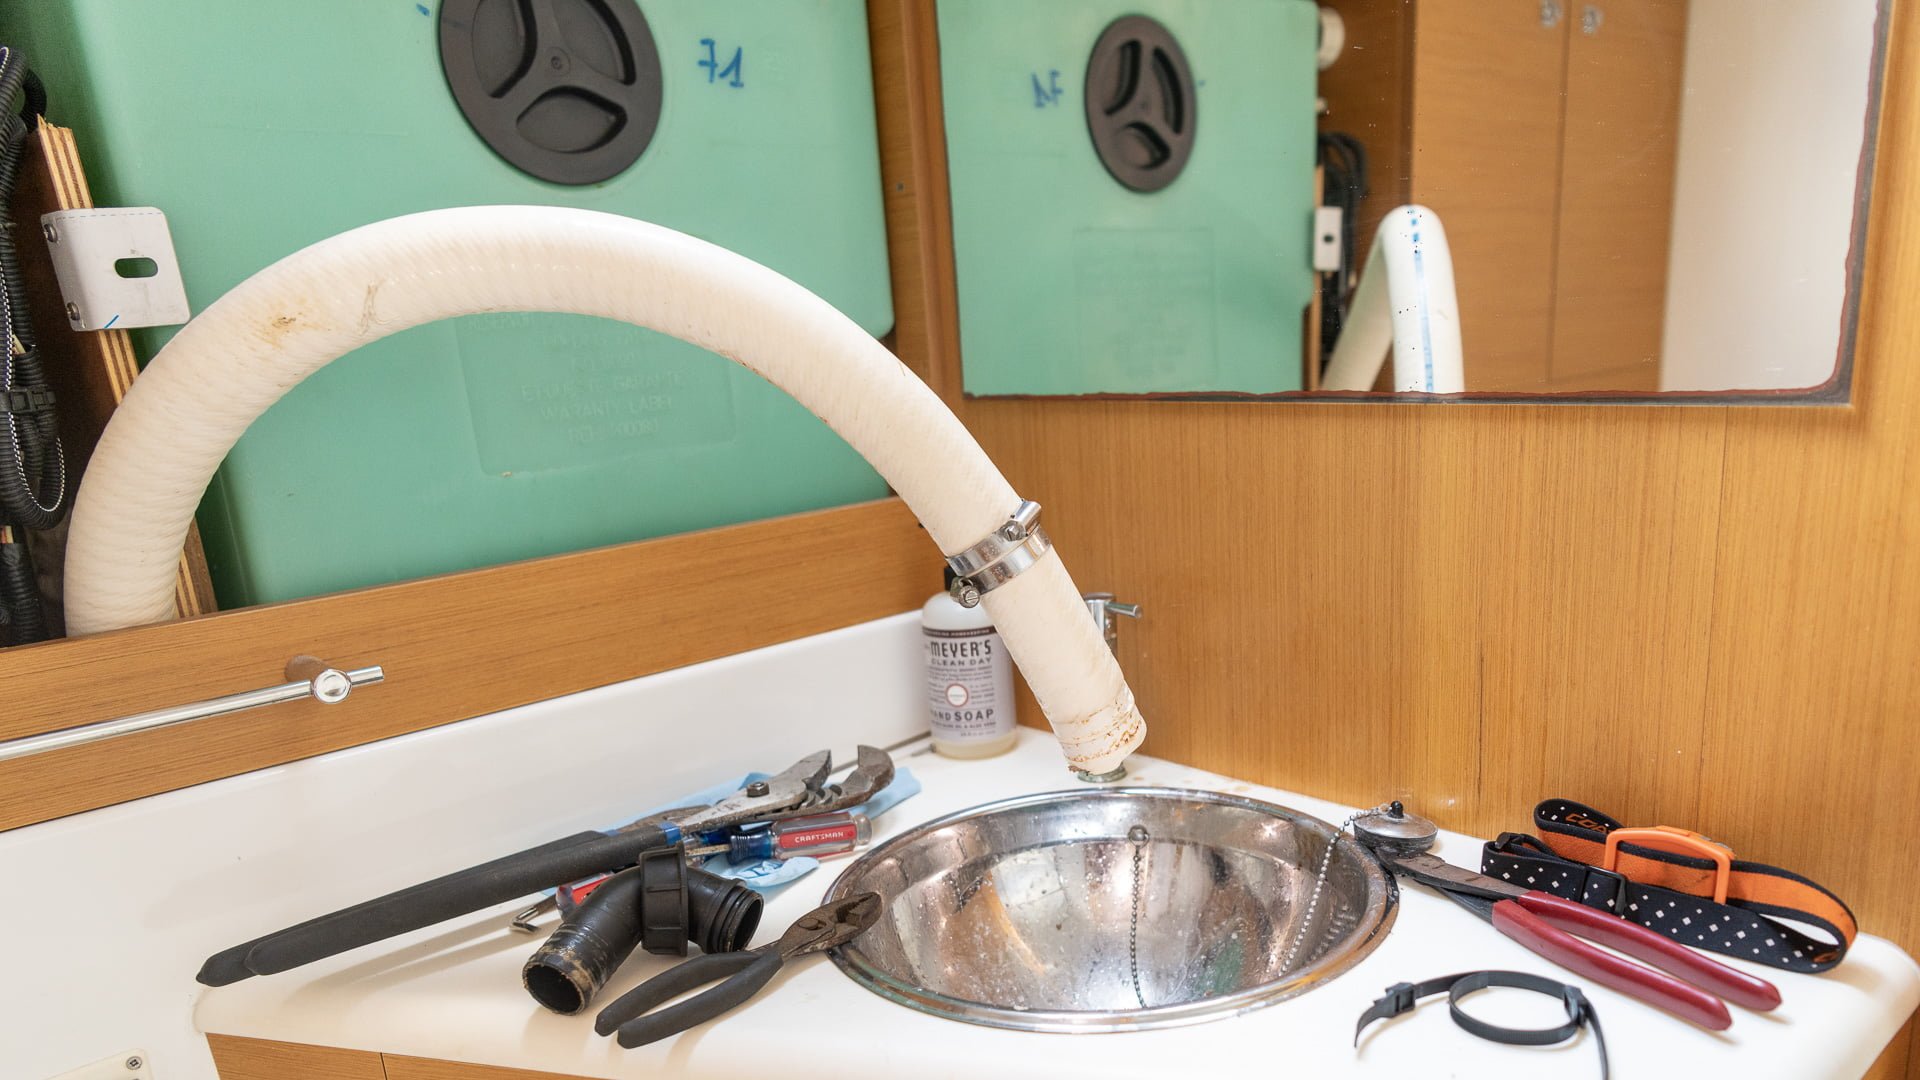
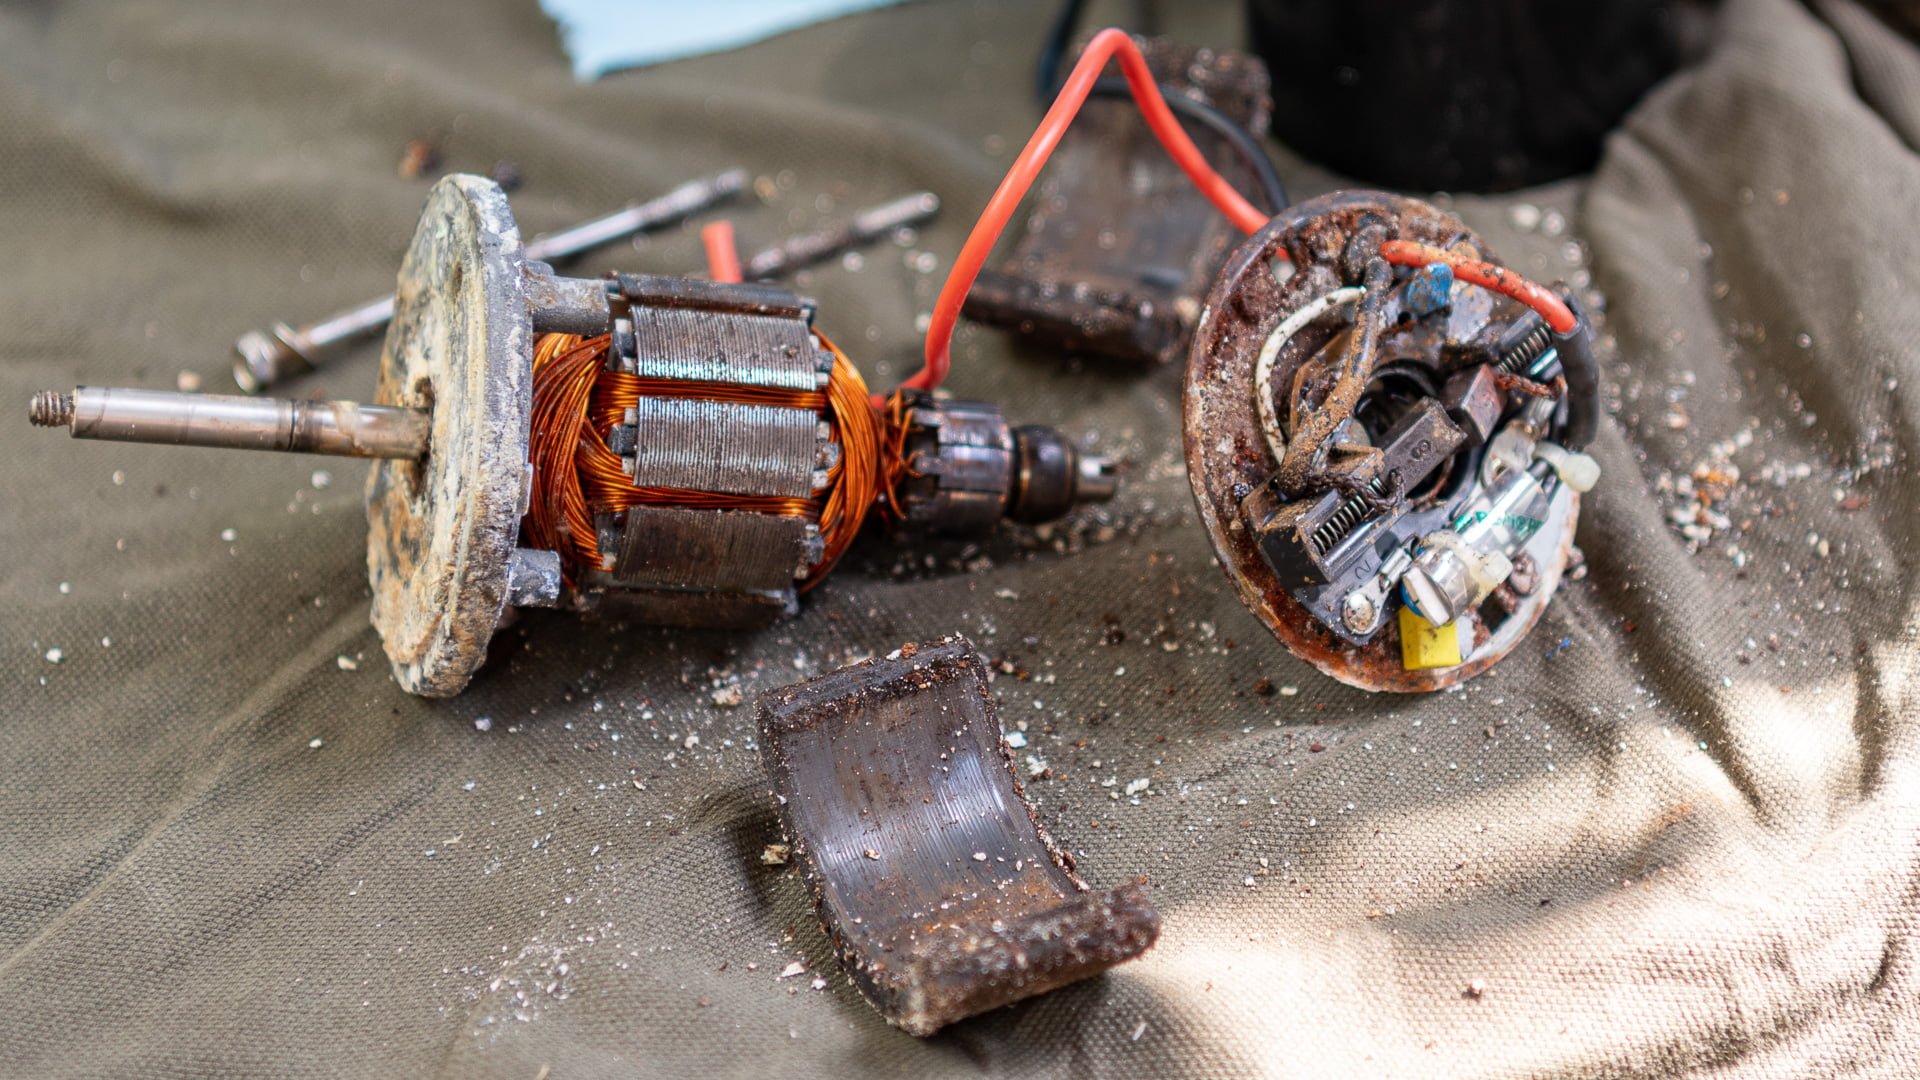
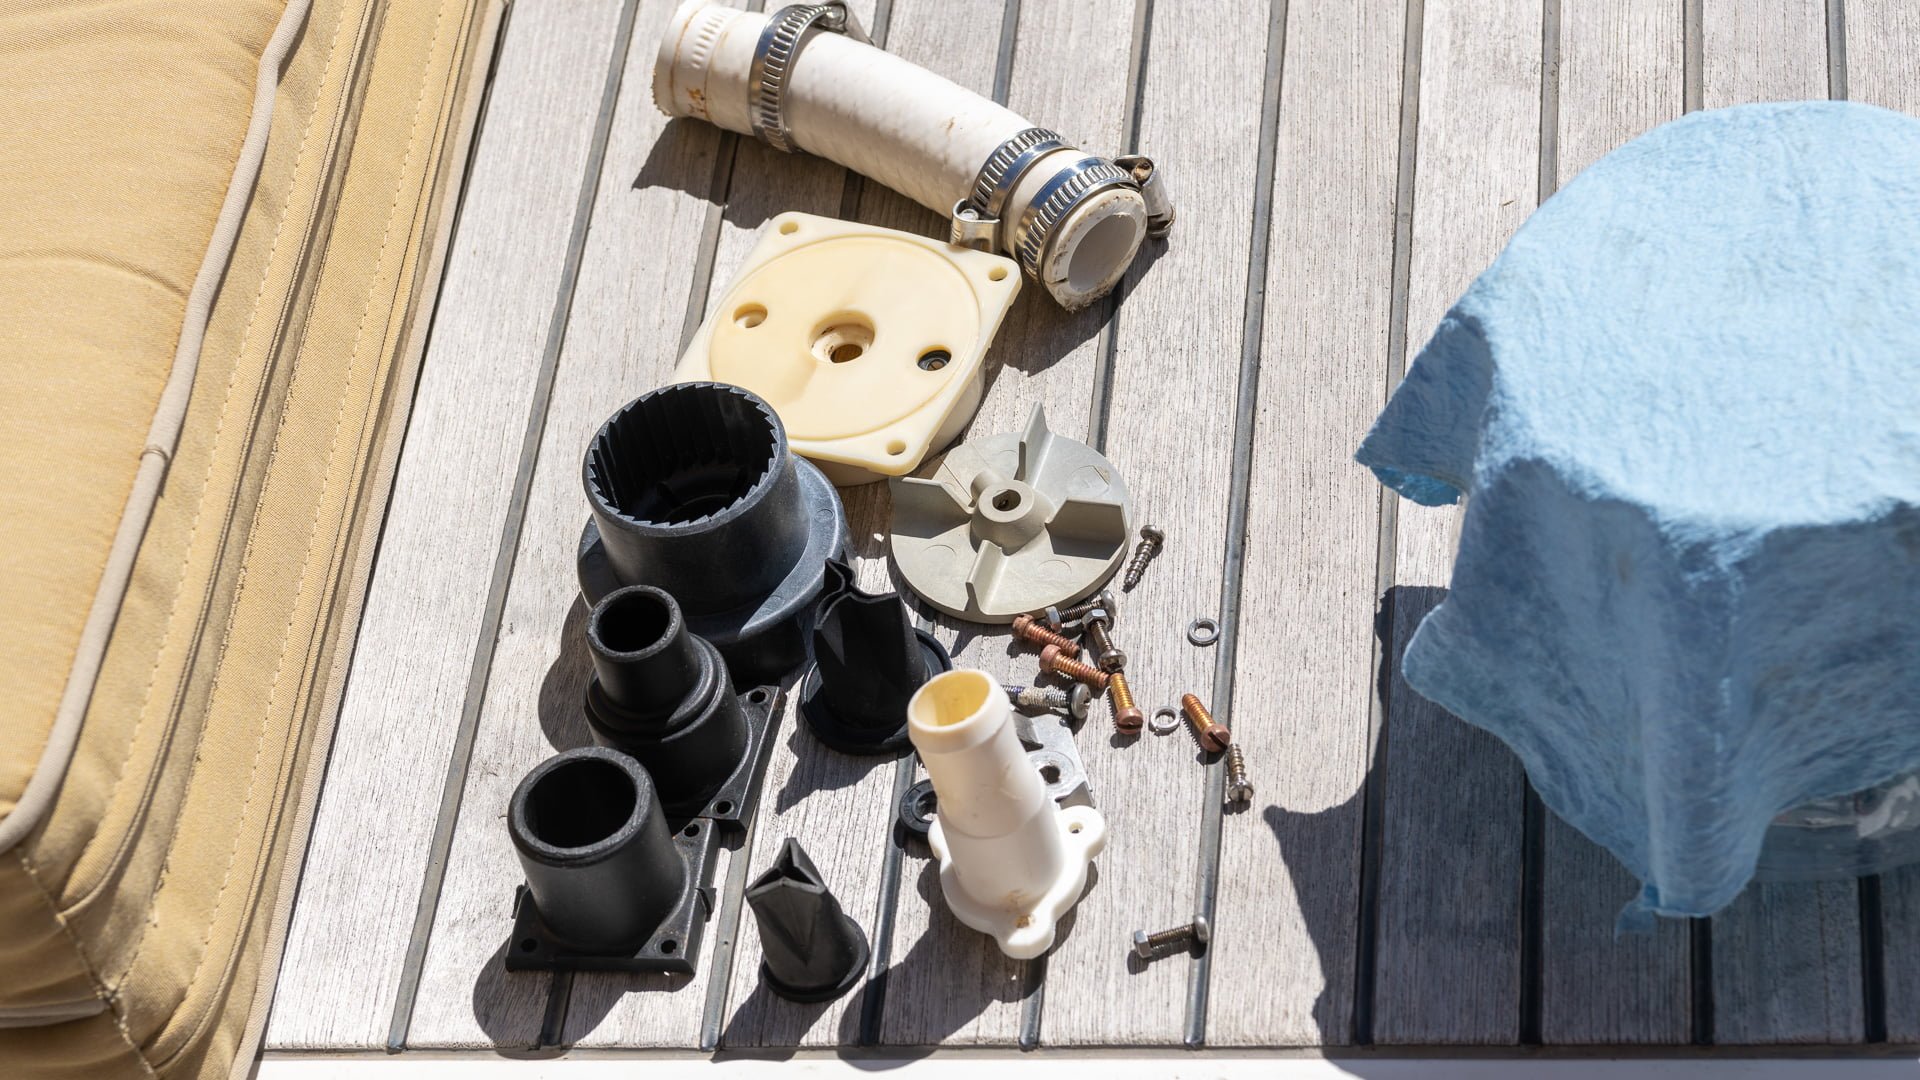
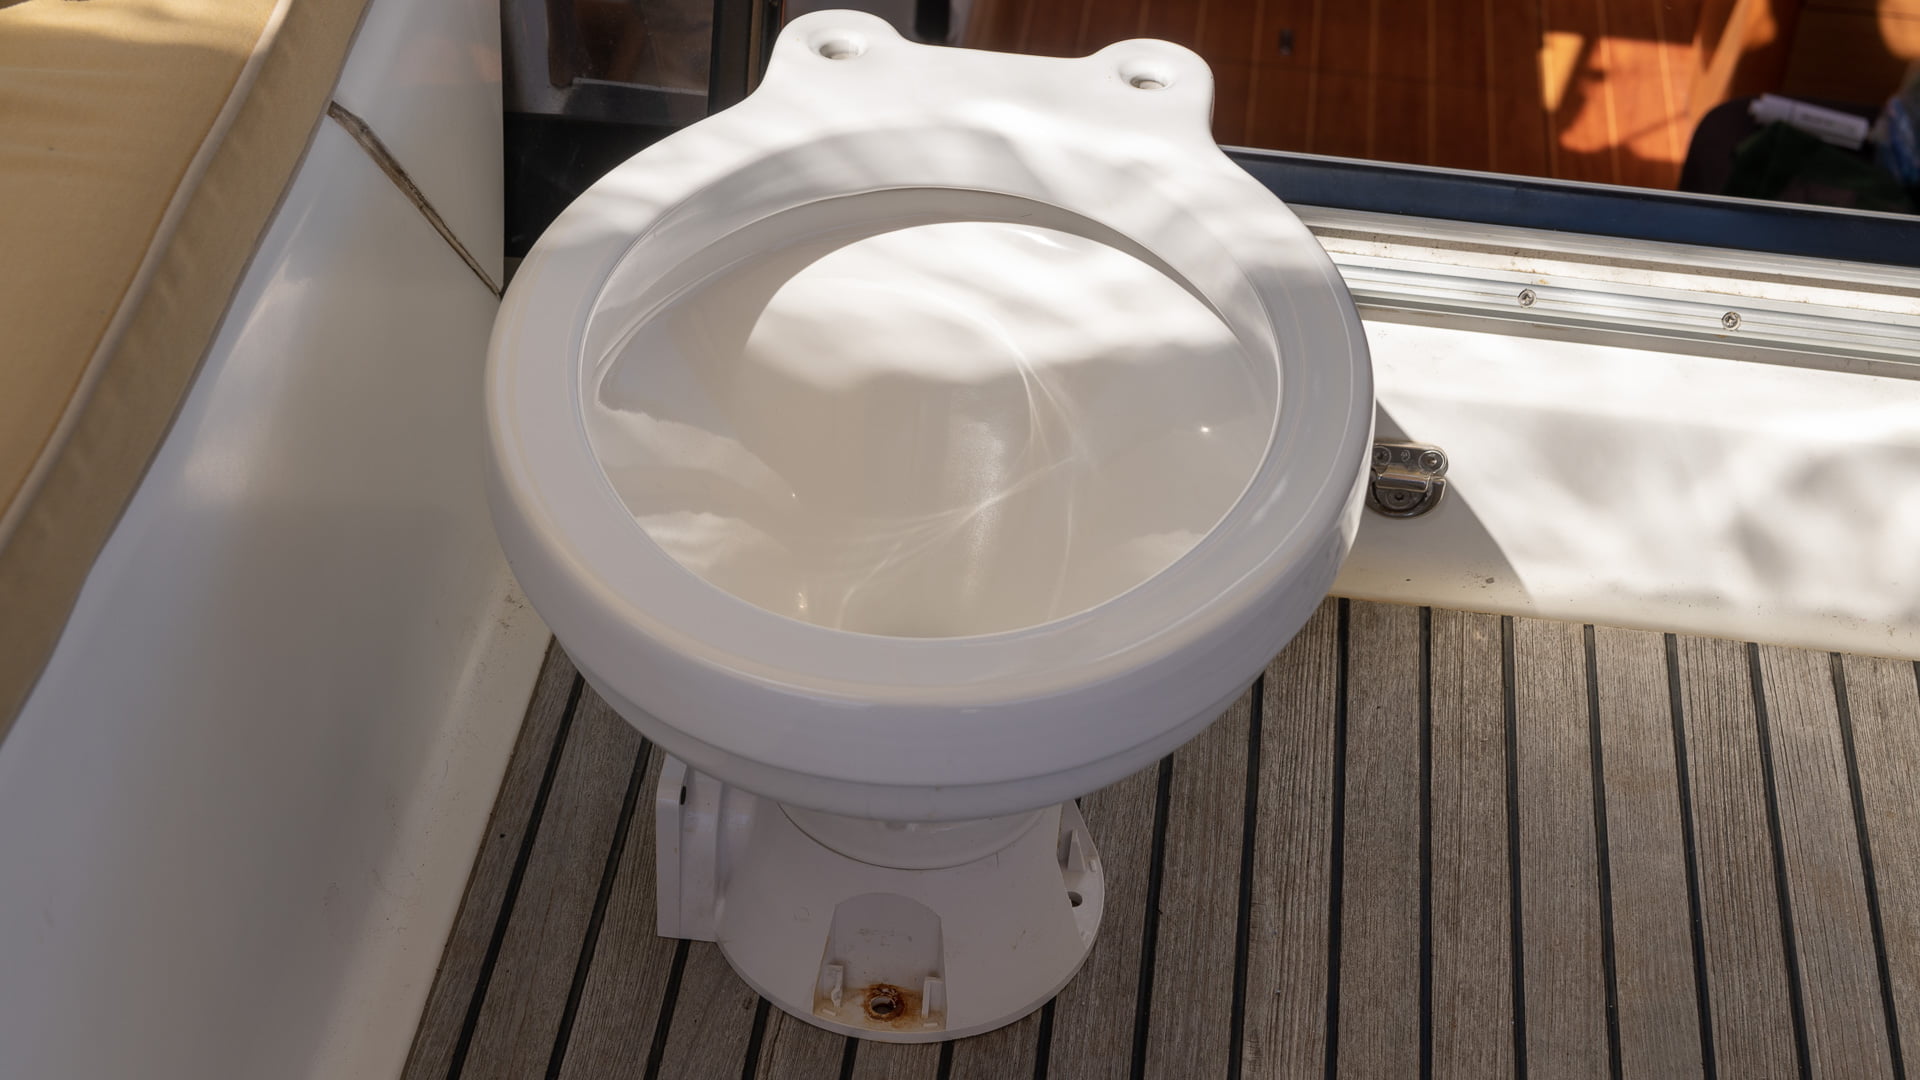
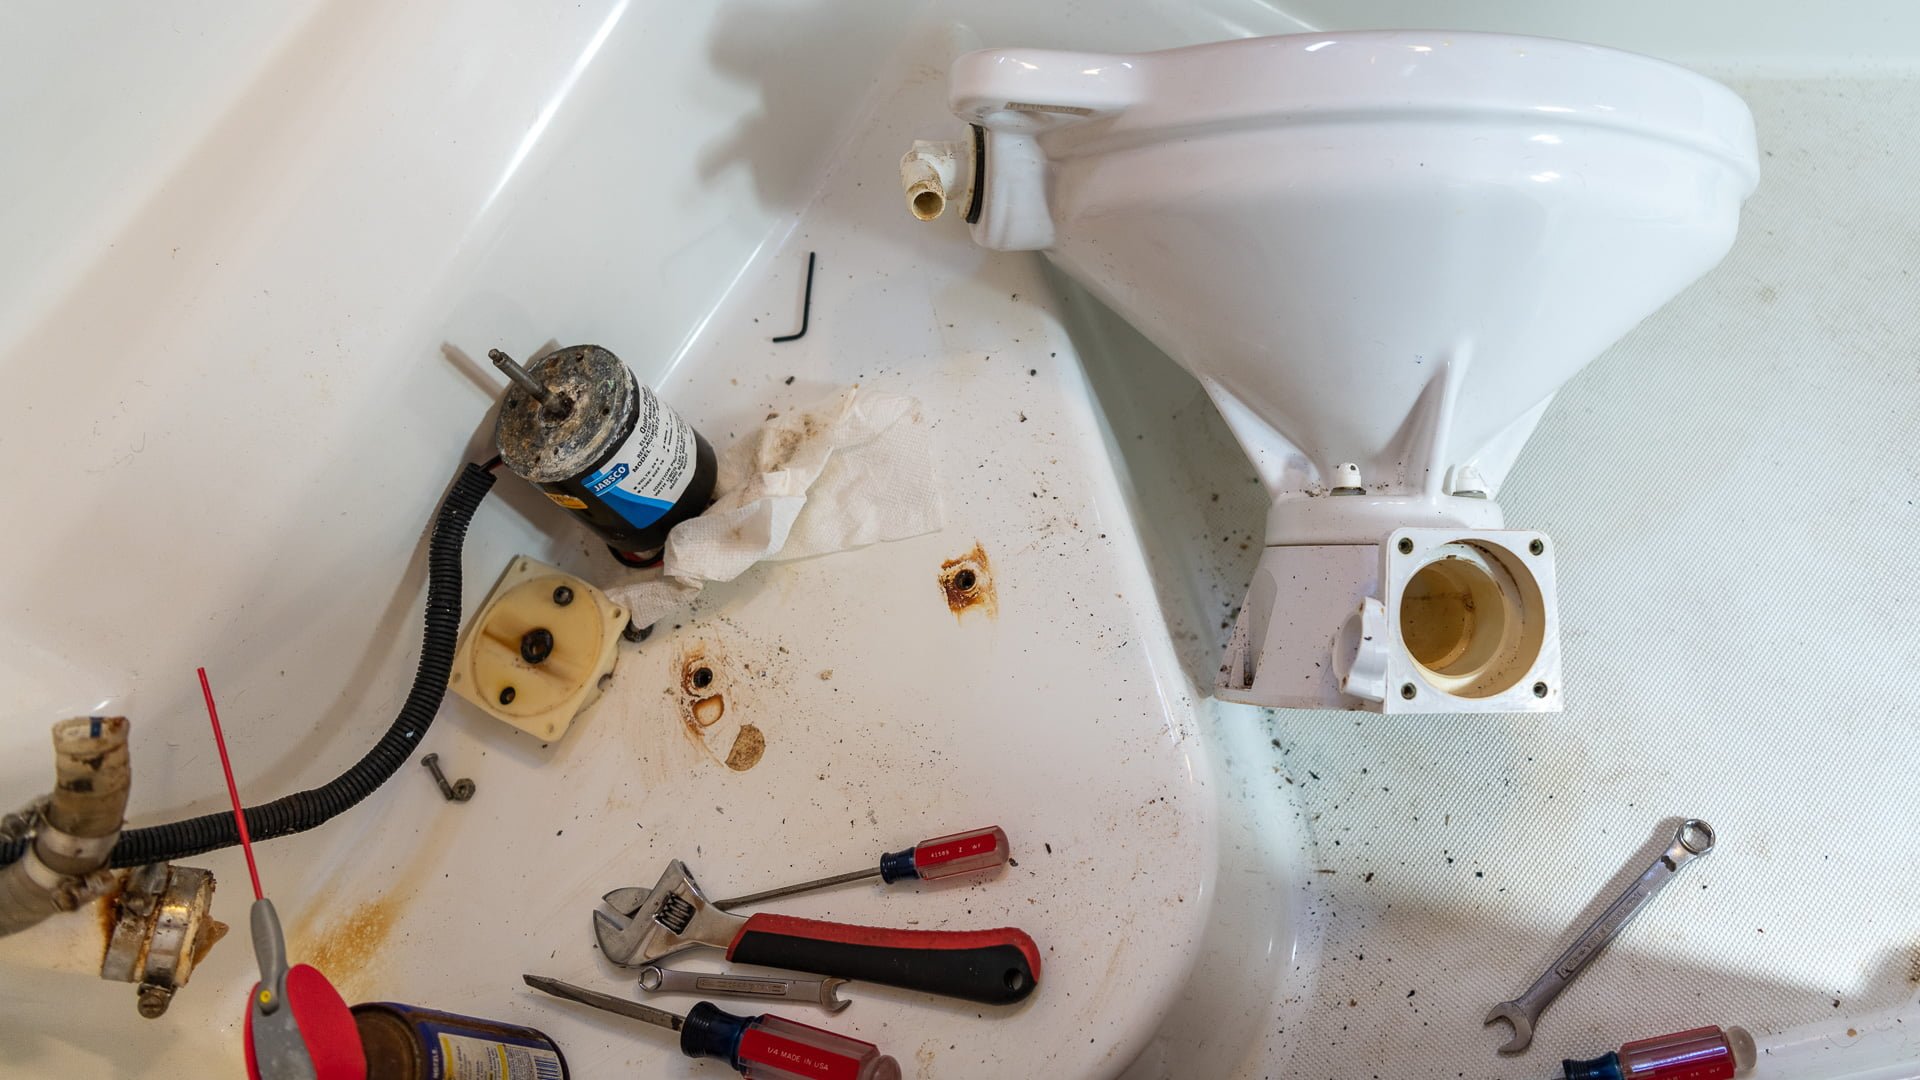
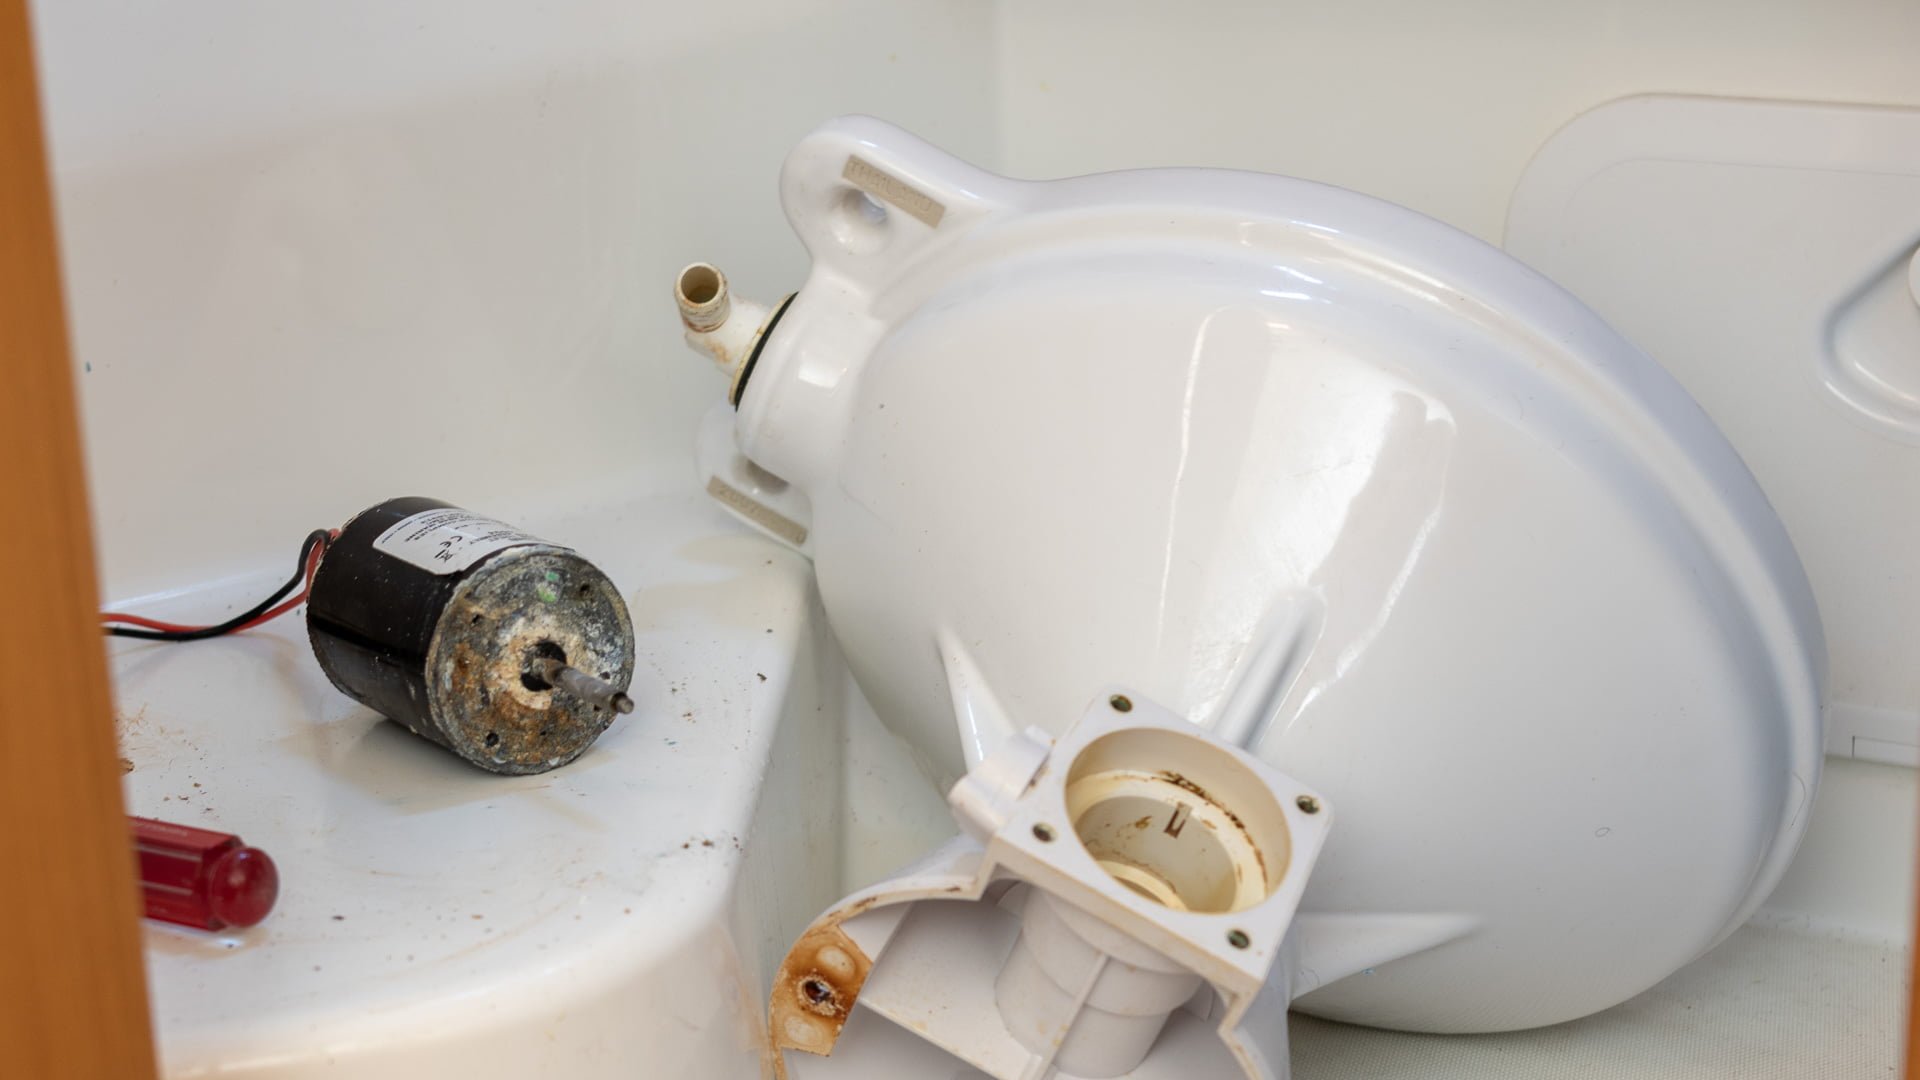
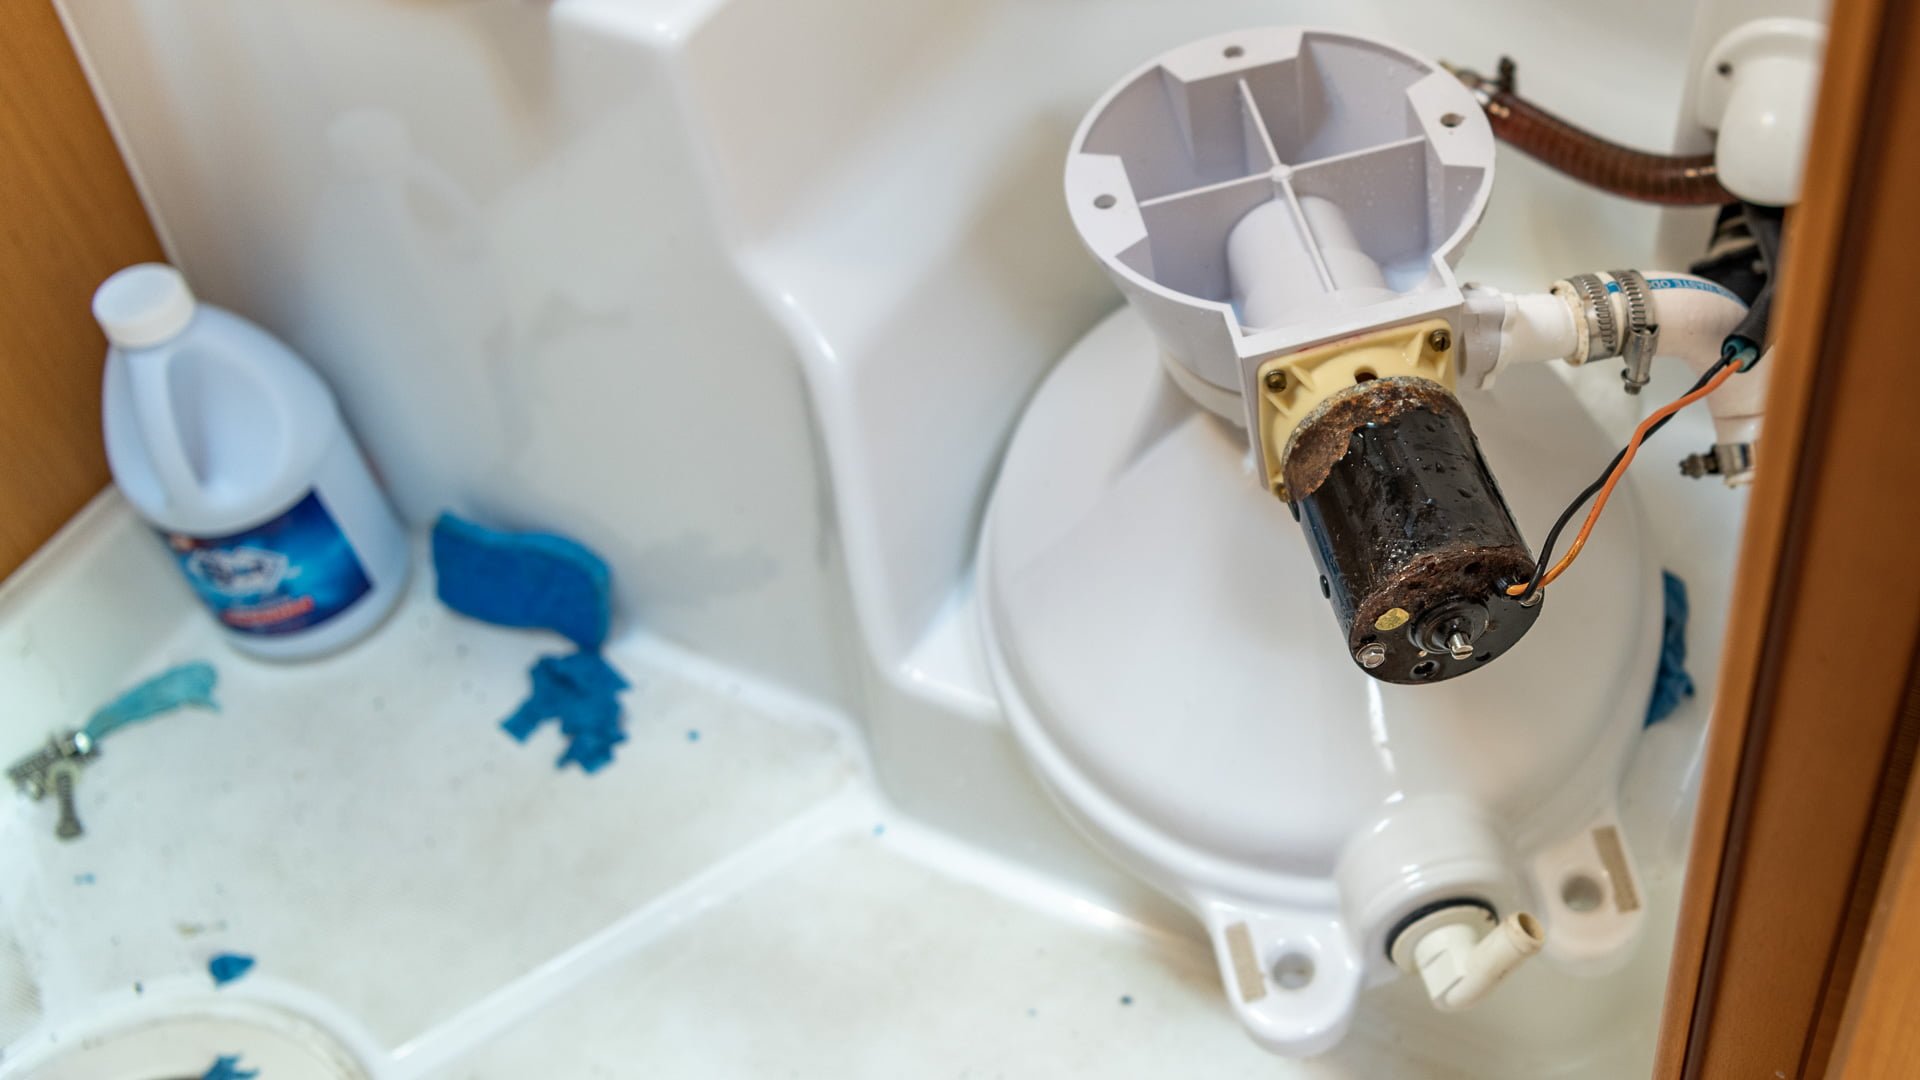
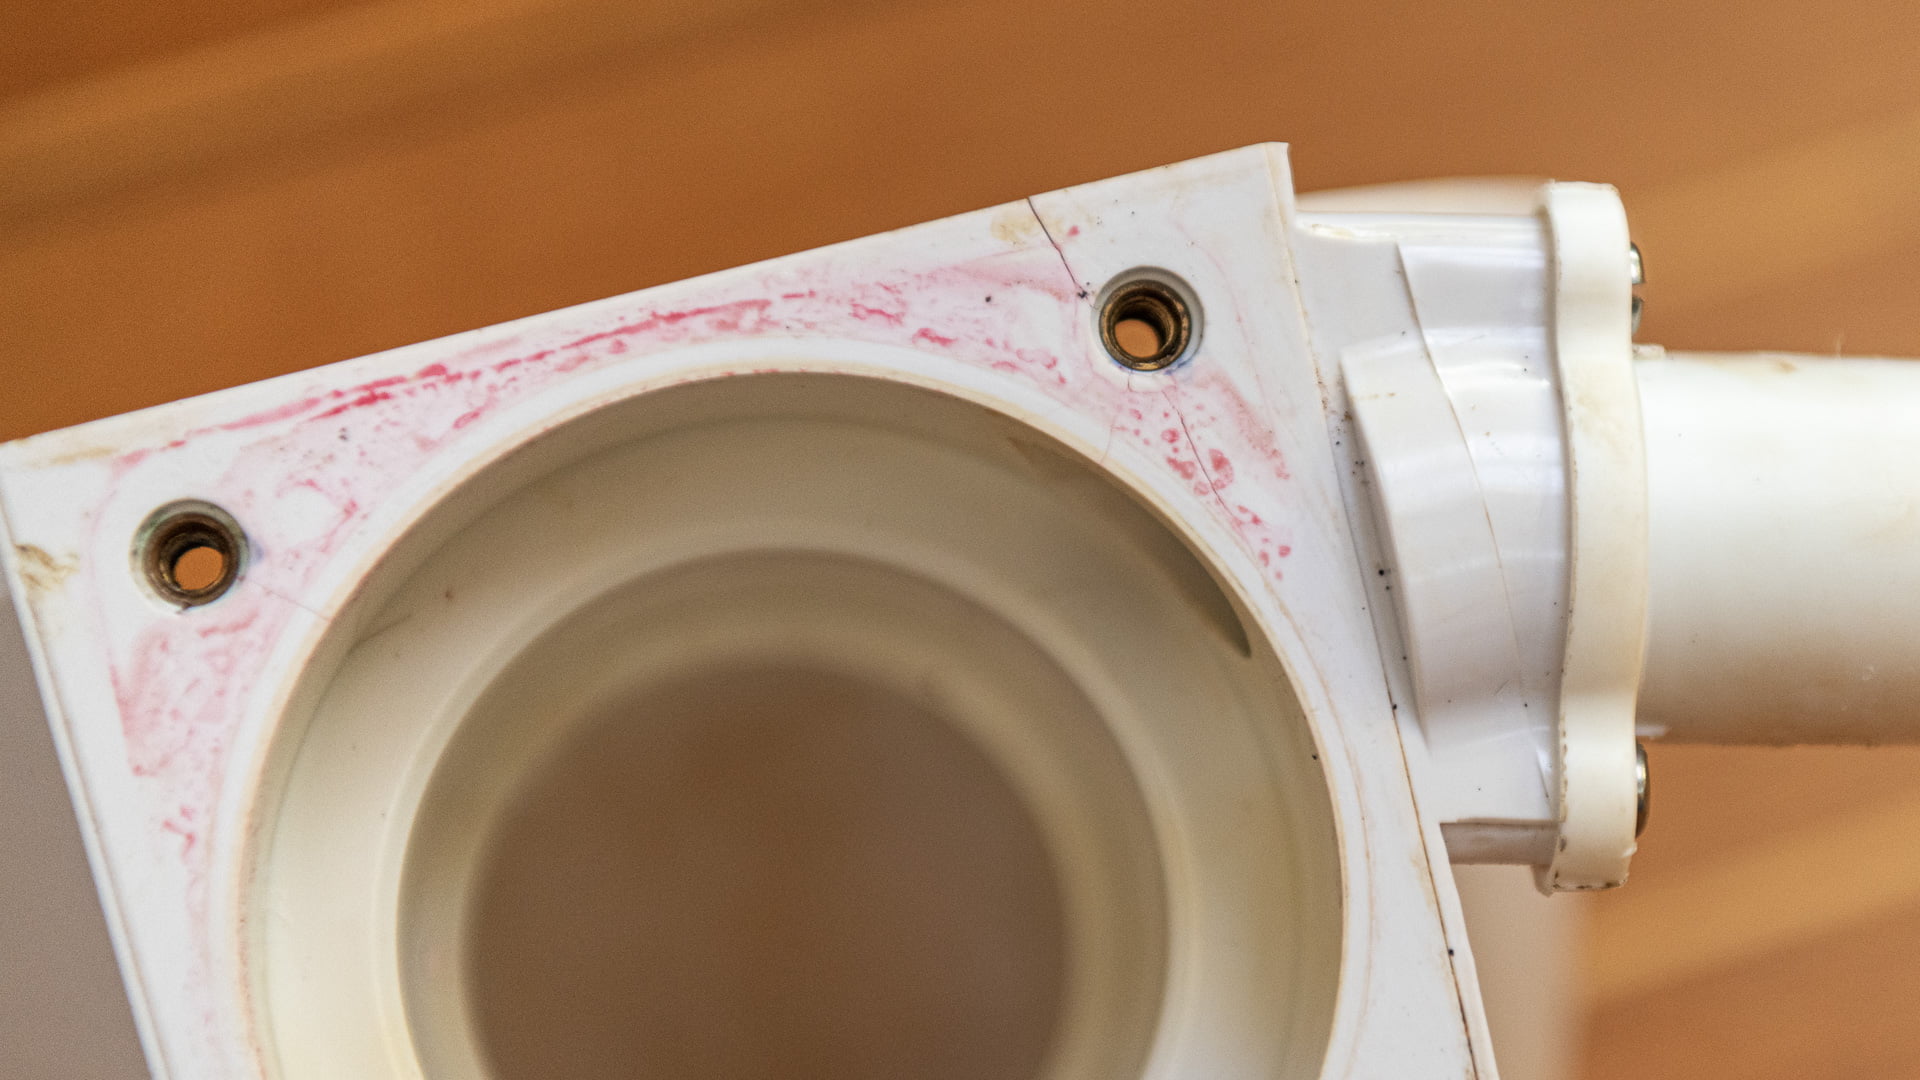
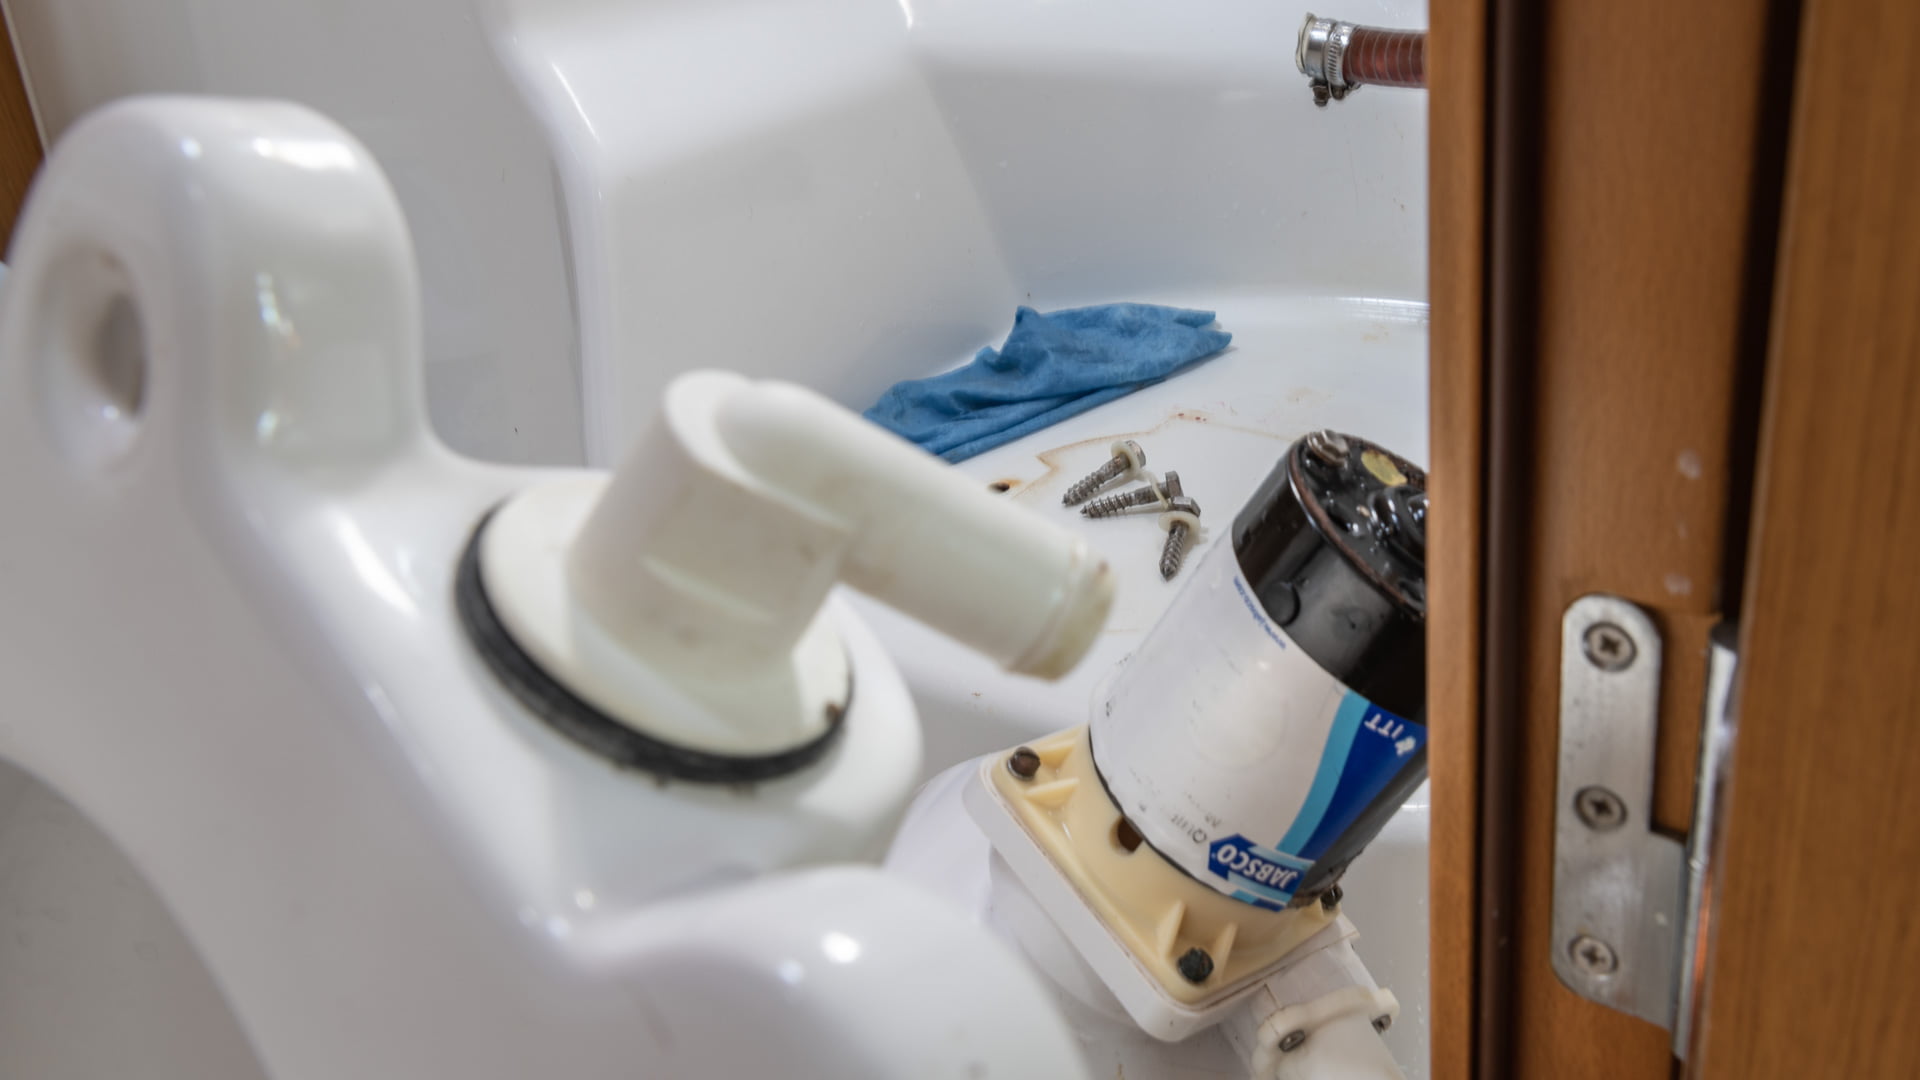
Despite the leak repairs on the toilet, when I hit the flush button the macerator pump works well but the water only swirled around the bowl and only drained very slowly. I disassembled and did troubleshooting, and it turns out that the sanitation hose between the toilet and the holding tank was clogged with limescale.
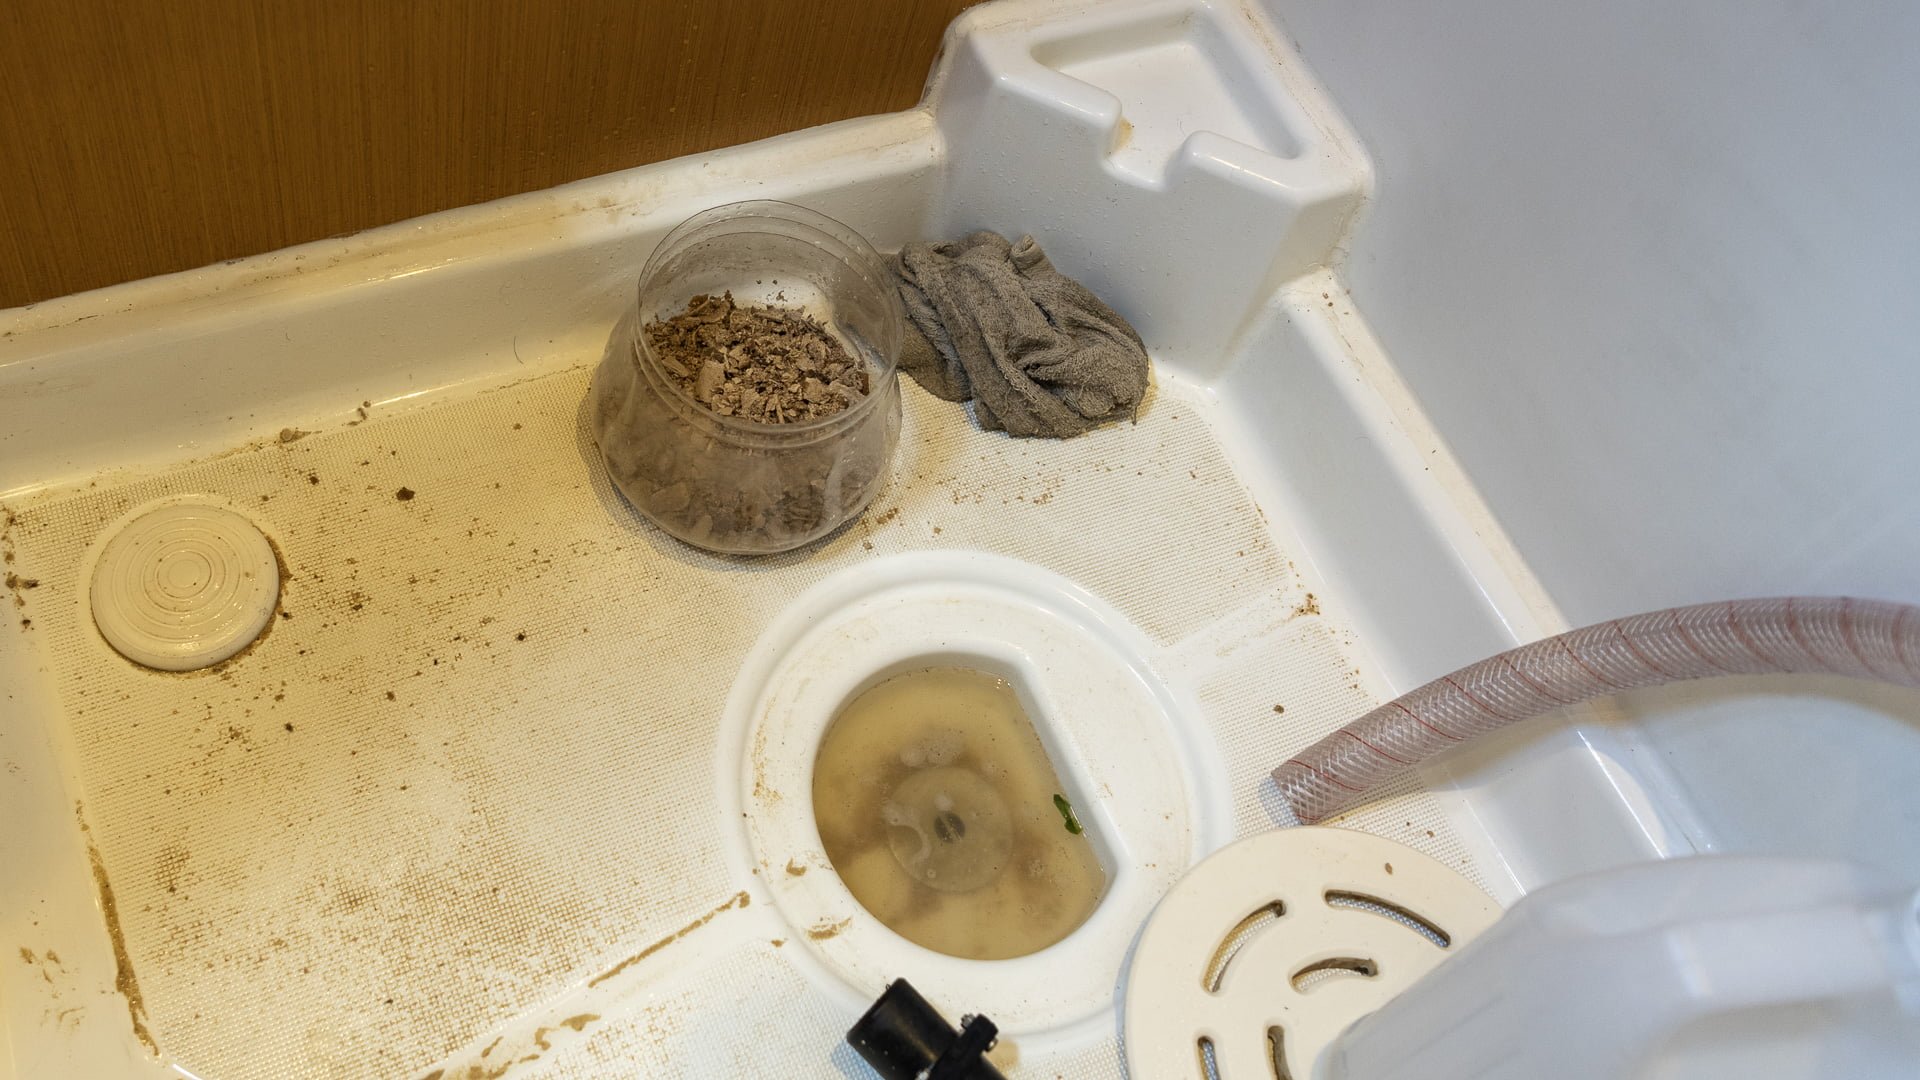
Even after soaking in vinegar for 1-2 days, it didn’t free up and when I finally decided to replace the hose and took it off, I managed to get a lot of limescale from just the first 1-2 feet. Nasty stuff and removing the thick and stiff pipes took hours. The new pipe is more pliable but remained difficult to install. But after everything was assembled and tightened the first tests showed that I now had a non-leaking and flushing toilet ready for use.
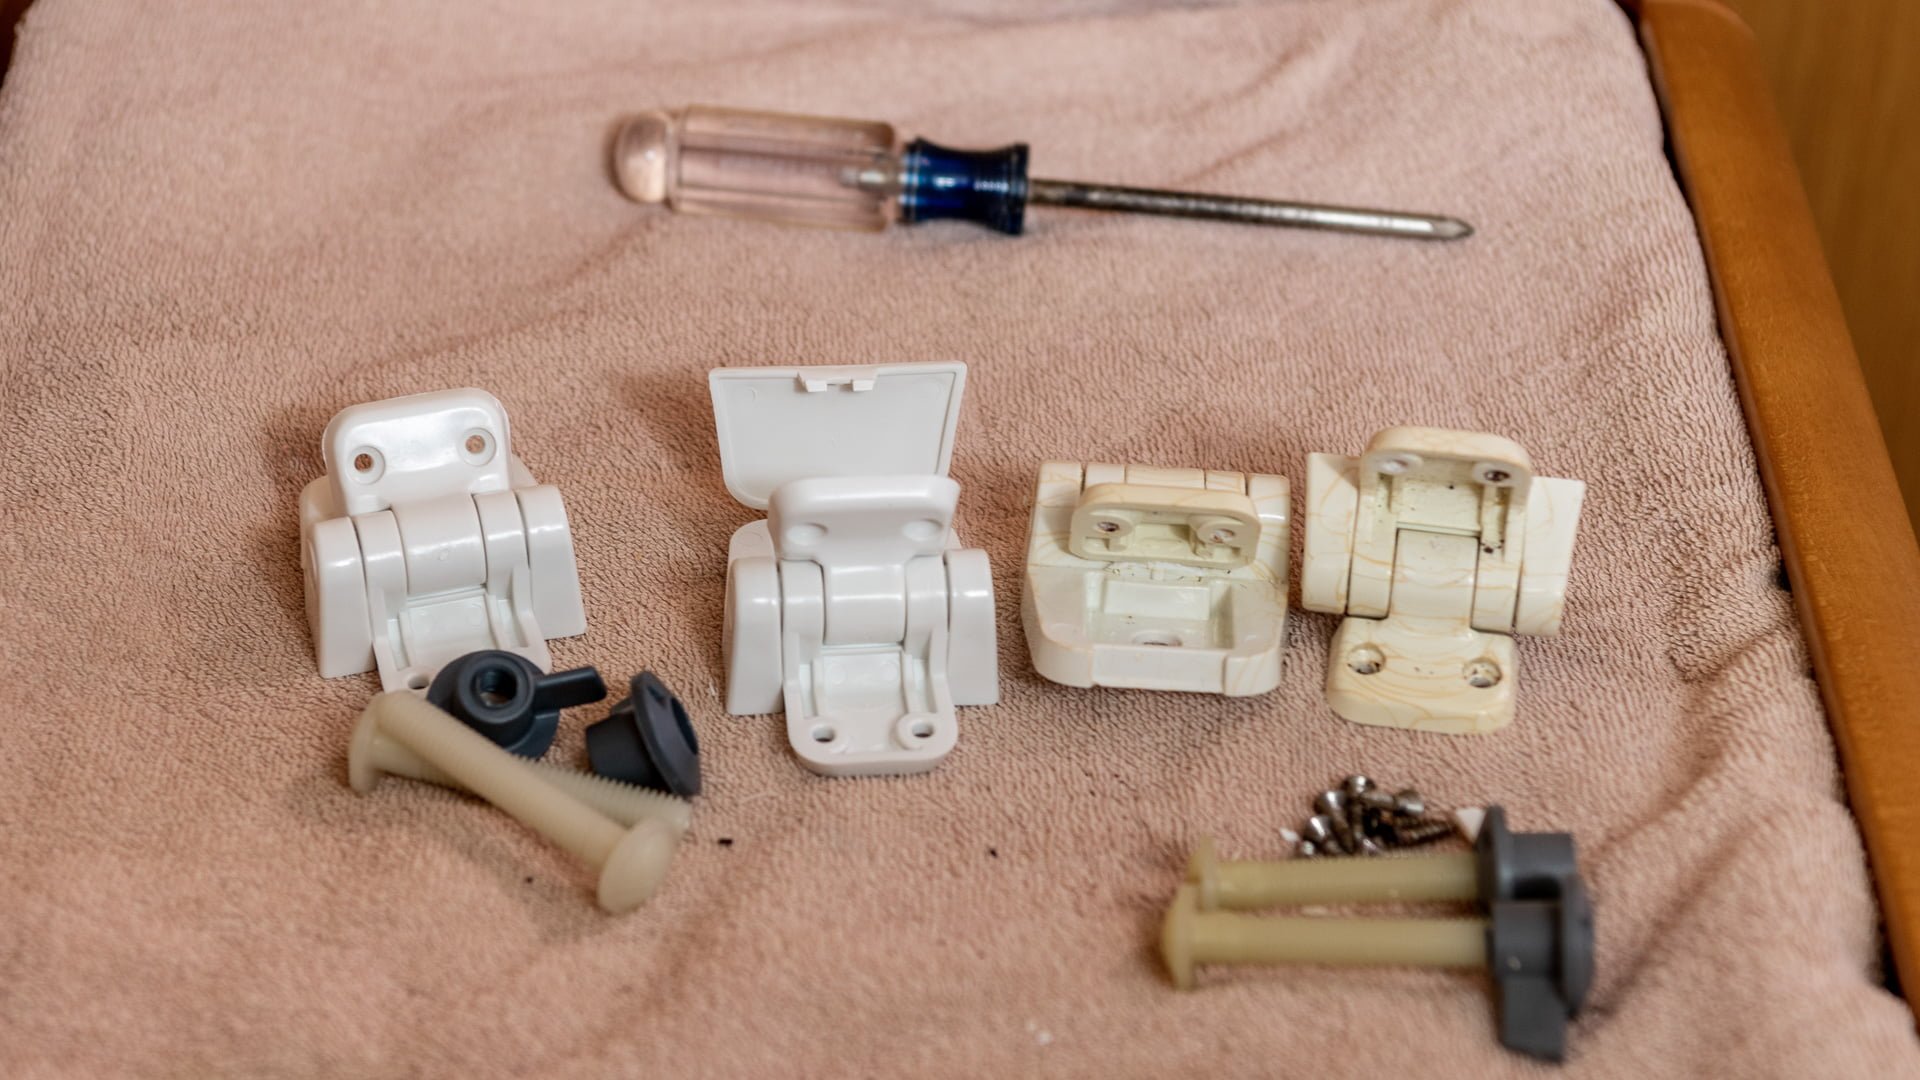
Upon returning to Zanshin, I didn’t use the master cabin toilet at all, I remembered that I had to fix a slow leak there. But the forward electric toilet also developed a leak, and I used the 3rd toilet, a manual one, while I worked on first the forward toilet and subsequently worked on the master one. Both needed expensive parts that fortunately were available at the local chandlery. It took several days before I got everything done; I was taking my time.
I serviced the winches and managed to install the stripper rings incorrectly and didn’t notice the error until the test sail.
There are a couple of spots on deck where the gelcoat got banged away by flying or falling objects (probably during Hurricane Irma). I can do those myself with a little gelcoat repair kit from the chandlery
My first attempt had me mix an incorrect amount of catalyst/hardener and the repair never solidified 100%, but the second time around worked as expected and sanding with 150grit, 500 grit and 1000 grit plus some 3M gelcoat rubbing compound finished the job.
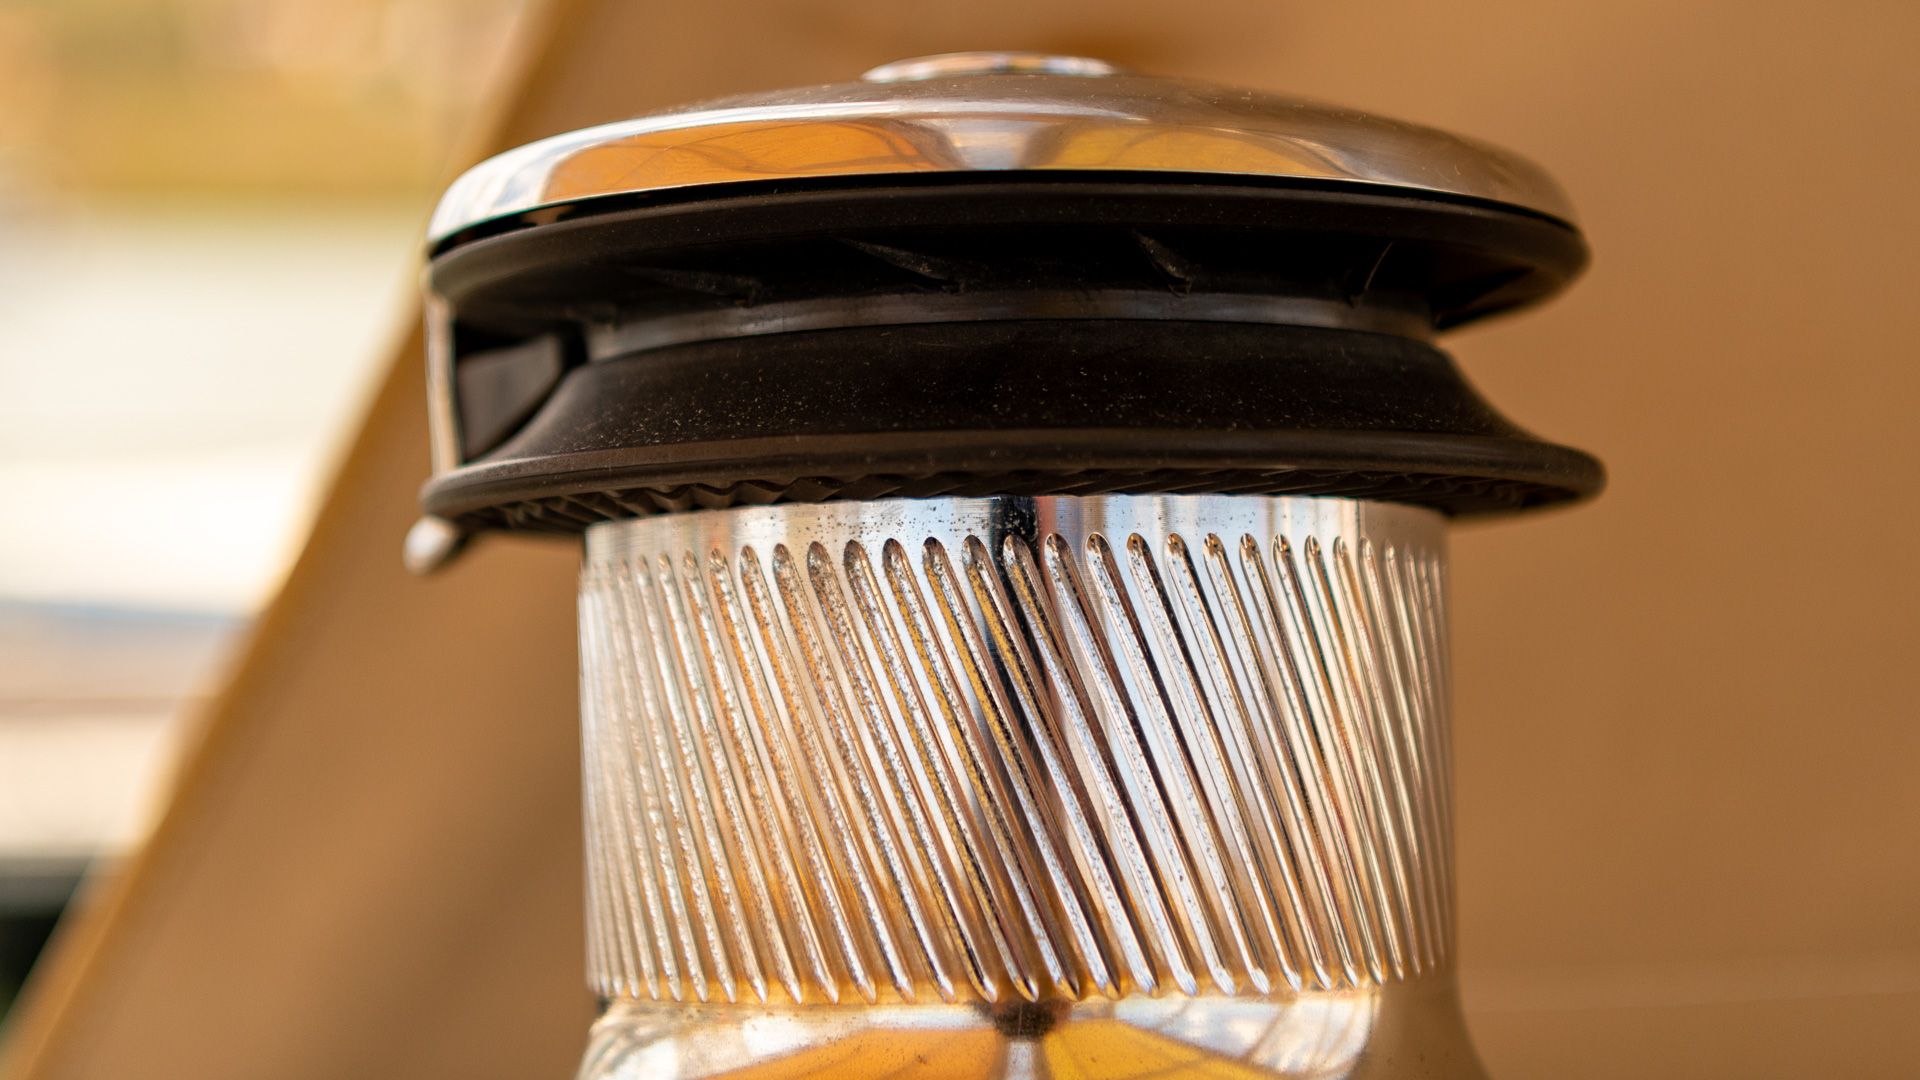
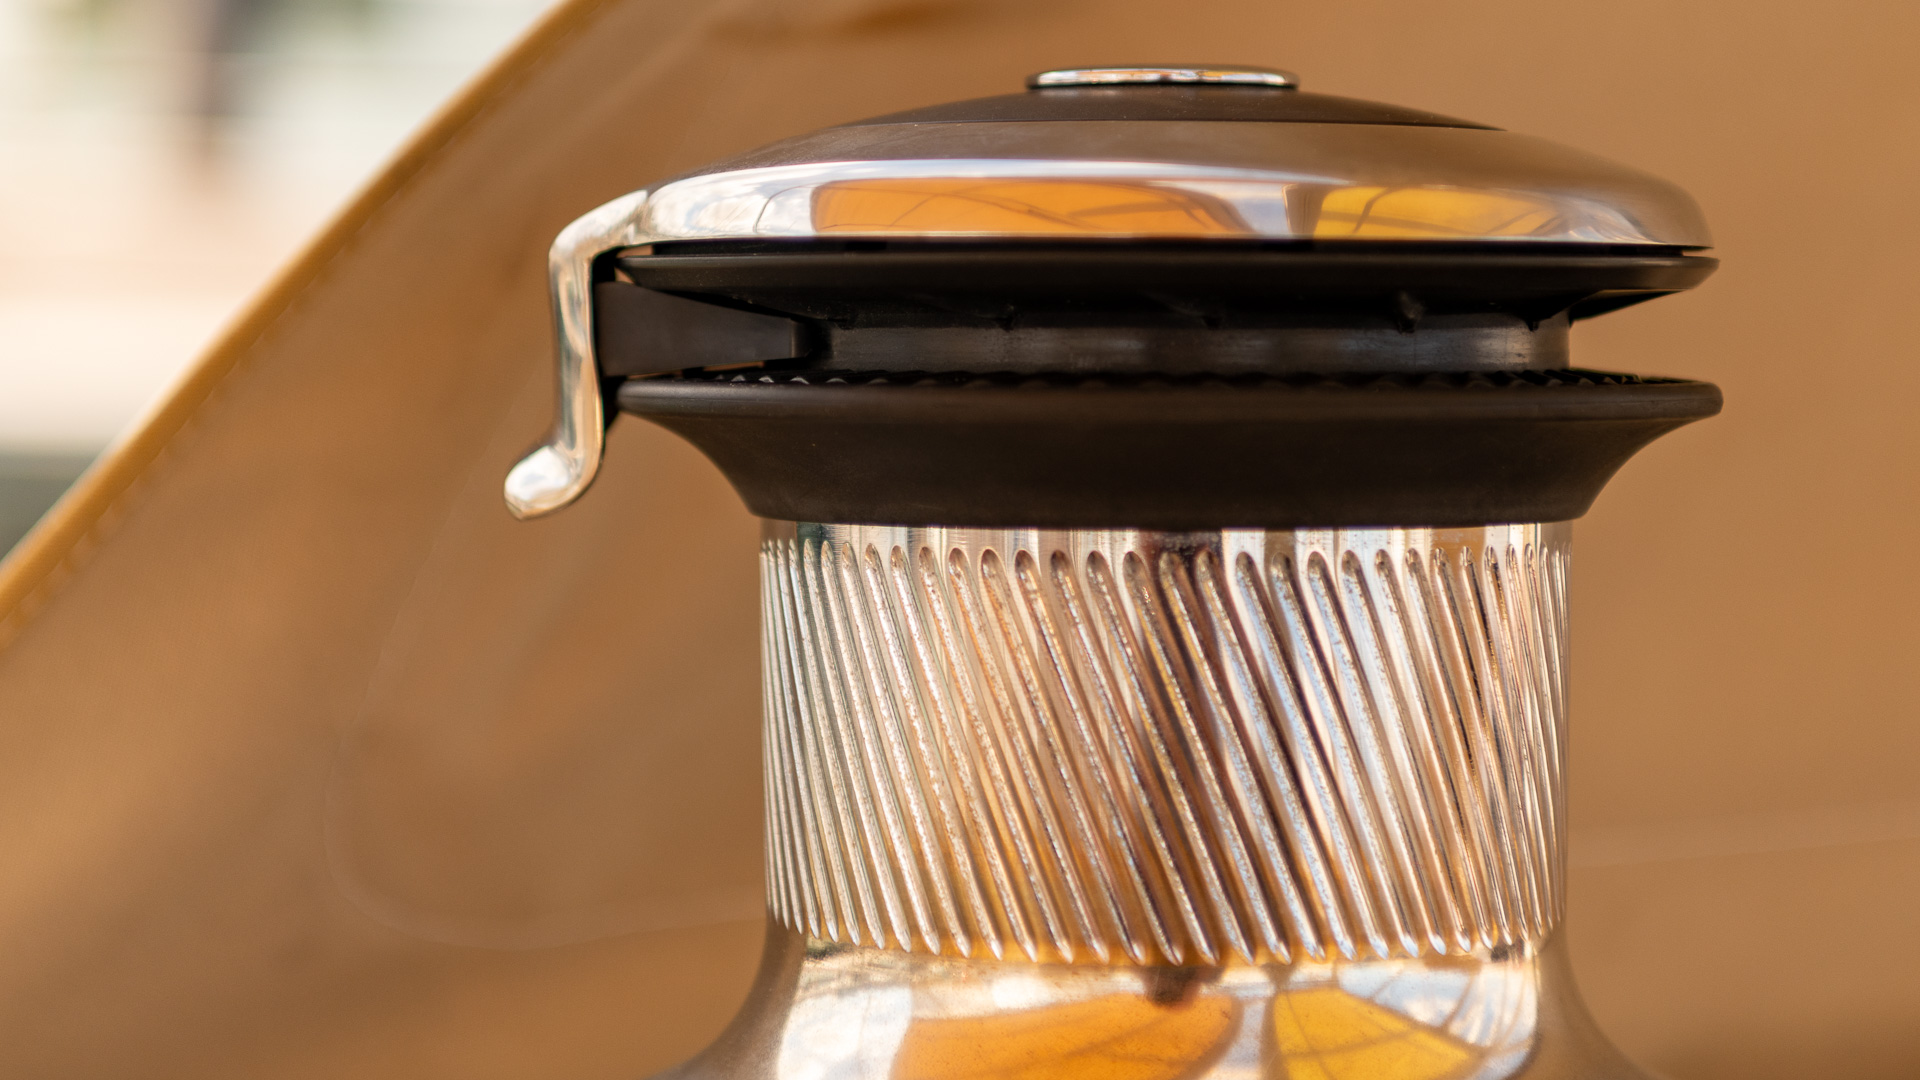
I’ve got the unit removed from the mast, and it seems to be broken, but there is a steel housing which unscrews to allow access, and I cannot get it open. I need a vise and don’t have one aboard. I will use any opportunity to get this opened that presents itself and then check out if the unit is serviceable after all before chucking it. It seems that I’d been turning the housing the wrong way, it is a left-hand thread and most likely I’d galled the threads. I took it across to the Chinaman in the yard and he couldn’t open it with a vise and huge spanner, so he took the angle grinder to it. Once open I saw that the top section was corroded, and an electronic component fell off in my hand, so I ditched the broken device.
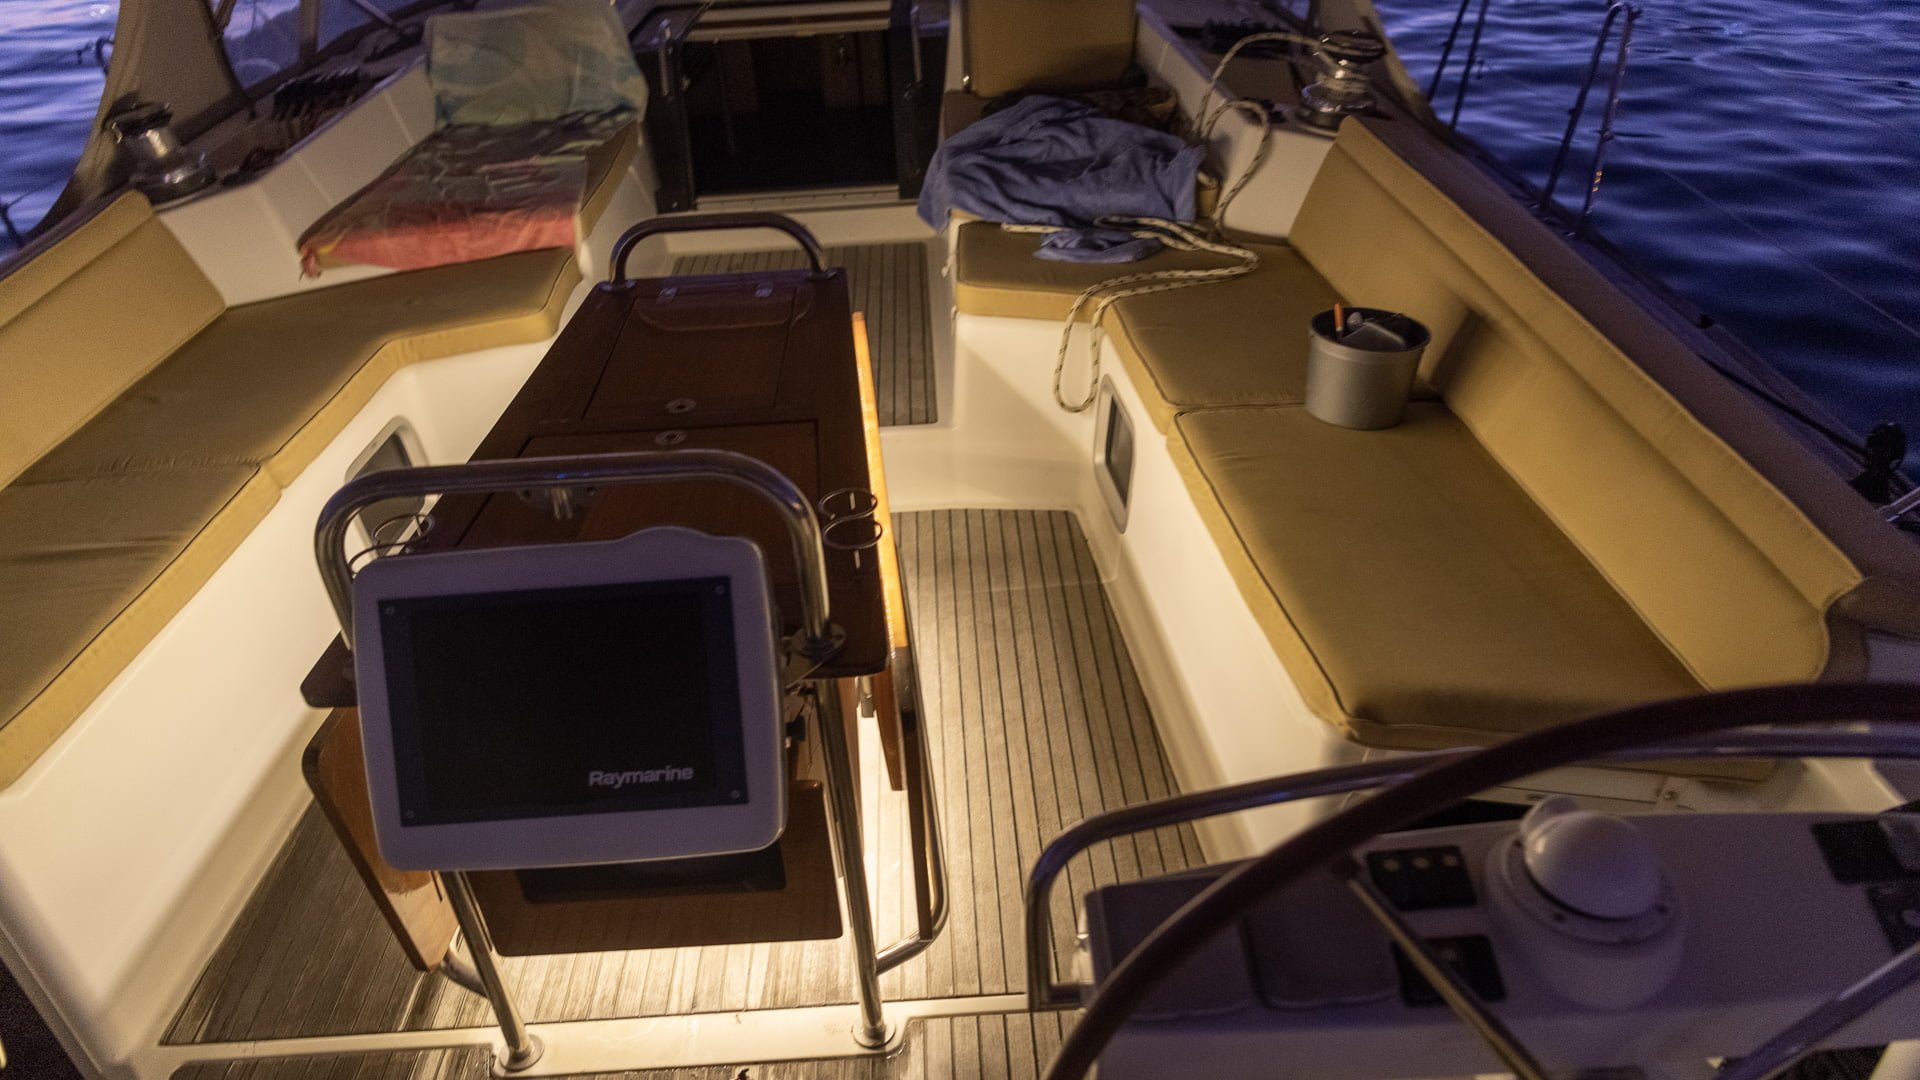
I have 2 old LED strips that I want to use to make indirect and dimmable lighting for the cockpit table I decided to put the LED dimmer switch on the chart plotter pod on one side and add a 2-port USB charging socket on the other side, as I had both parts in my inventory. I thought that the pod was fiberglass and gelcoat, but it turned out to be solid molded plastic and my Dremel tools did a good job, but I used a borrowed drill with attachments to drill big round holes to get started. The corners really are hard to do without a jig saw. But the enclosure was quickly done, and I used some industrial strength outdoor double-sided tape to attach the LED strips underneath the top ledge of the table and underneath the table as well and the effect is quite nice with indirect nighttime lighting.
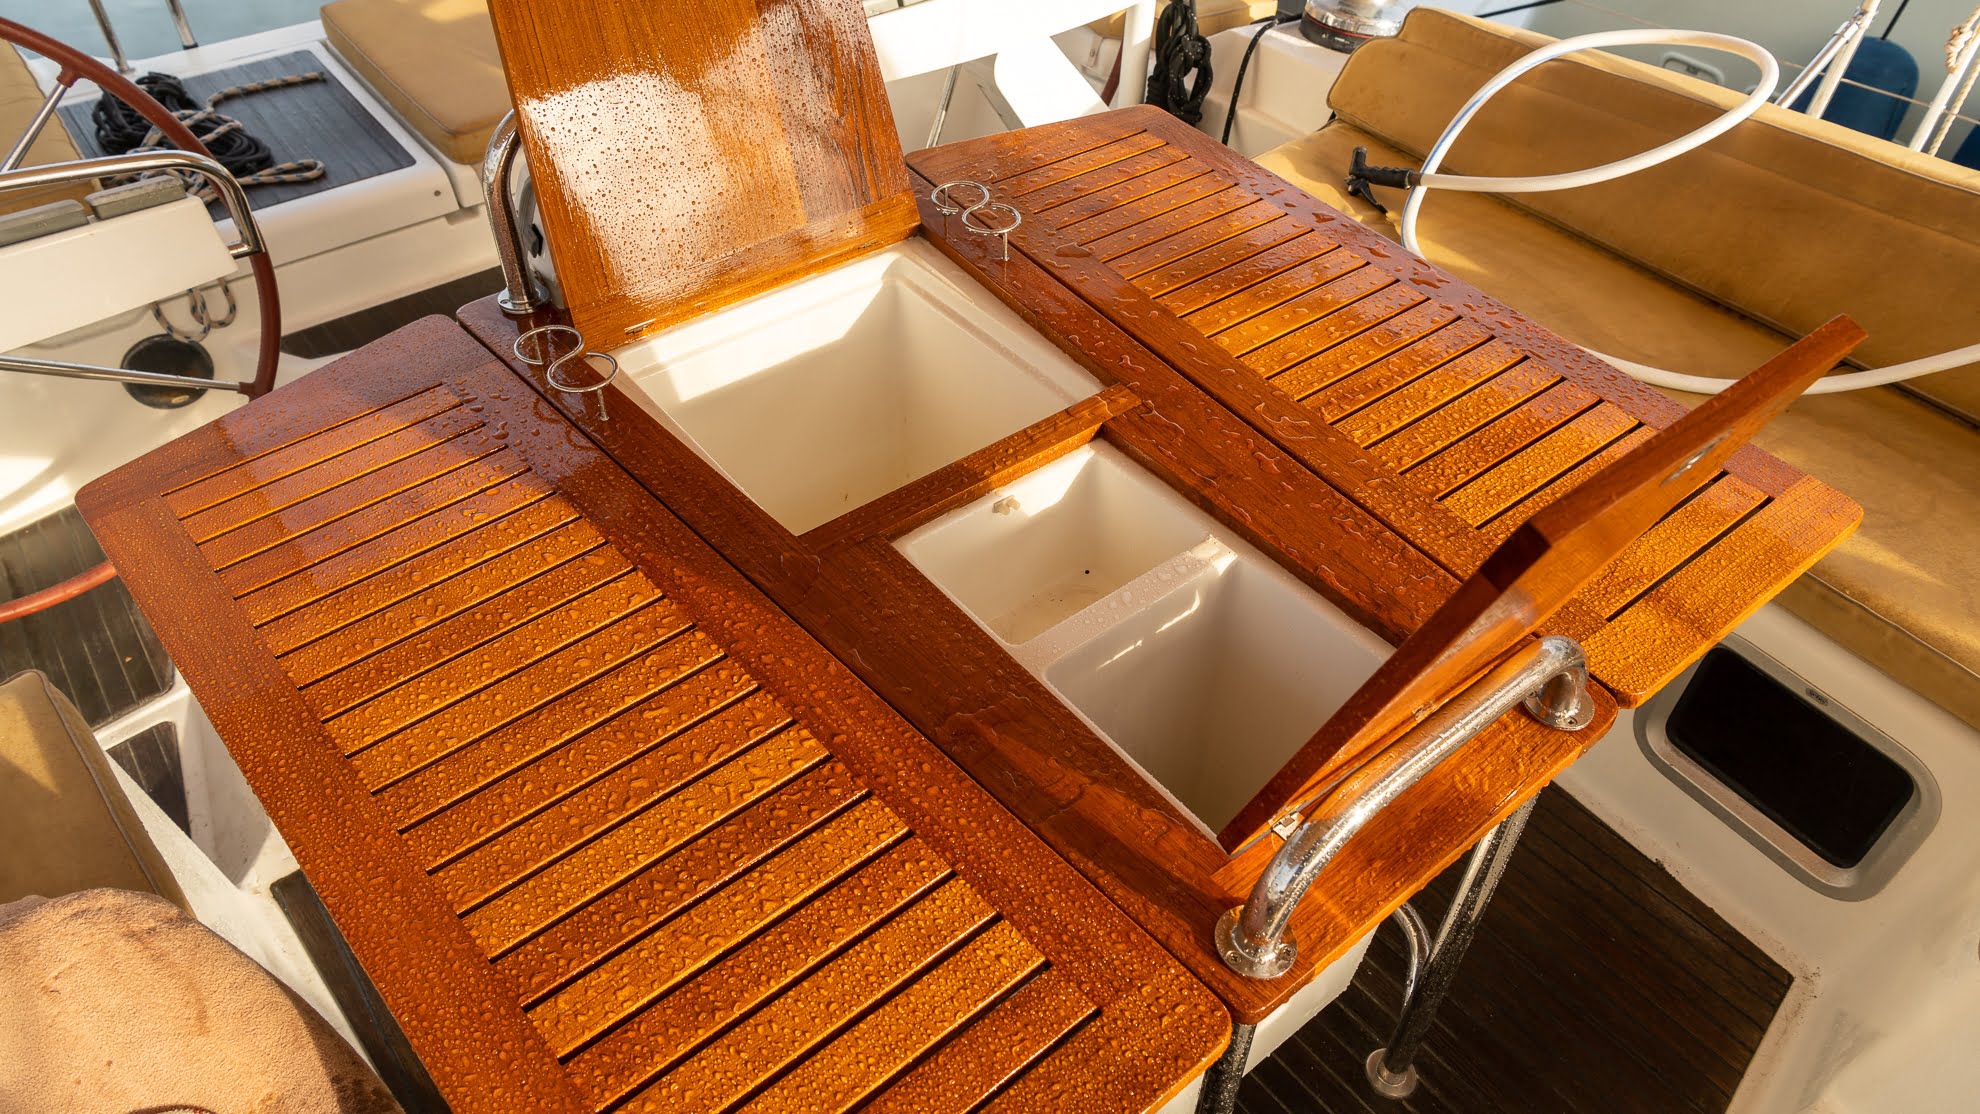
This is a big project, and I will use professional help to do this. The guys working on Kokomo (“Friend” and Jeremiah are their names) will come by in the next couple of days and make me an offer. While I don’t like maintenance on varnish, I like oil/grease spots on the cockpit table even less. They have been working, almost daily, for a month now. Most of their time was spent in preparing and sanding the surfaces to be varnished. There are to be 8 layers of varnish (including 2 layers of sealing/base) but the cockpit tabletop has seen some heavy degradation over the years and might require more work than that.
After Layer 8 was completed they initiated their “upsell” tactics by offering another 2 or perhaps 3 coats of varnish and I acceded to their requests as I think that with 2 more layers the surface should be like glass. They spent several more days with sanding, prepping and varnishing before the work was complete and I had to let the parts dry for a couple more days before mounting them.
The mount closest to the exhaust has quite a bit of rust that needs to be removed and passivated with Ospho.
I noticed that the light was on, although I hadn’t turned it on. When I switched it off at the control panel it remained on. The panel LED seems to be working so it is most likely a faulty relay and an easy fix. Currently I have the breaker turned off to circumvent the problem. Since it is very hot outside, I decided to do this task today and got a spare relay out but didn’t replace the old one because once I powered up the circuit it worked without a problem. I’m going to mark this as fixed unless it happens again.
I can never remember which button is for fast and which for slow, and if I press the wrong one, I need to make sure the winch stops before pressing the other one, otherwise the breaker is tripped, and I have to go below in order to reset it. I’ve been wanting to do this for years and finally did it today. I had to clean and wax where the labels are put and print out the labels and that was it.
There are several tasks here, the chain needs to be removed from the boat and mechanically cleaned to remove the big rust spots. Then treated with Ospho and otherwise passivated. Perhaps the chain needs to be end-for-ended and finally the chain needs to get painted markings so that I can visually see how much has been let out. I’ve been using plastic inserts, but they are difficult to see and tend to fall out. This is a major job which I will contract out to the same people doing my neighbor’s chain. I removed the chain from the locker and put it onto the dock; that revealed some major issues with the sections of chain that were at the bottom of the locker. The chain locker has two drain holes that are very close to the waterline and at sea they will occasionally take on small amounts of seawater. The chain locker has a slope so that there is always a small puddle of water at one end, and this has caused some major rust on the chain. Some of the links are corroded so badly as to cause a potential break danger in moderate conditions and would surely break under anything approaching the original working load of the chain.
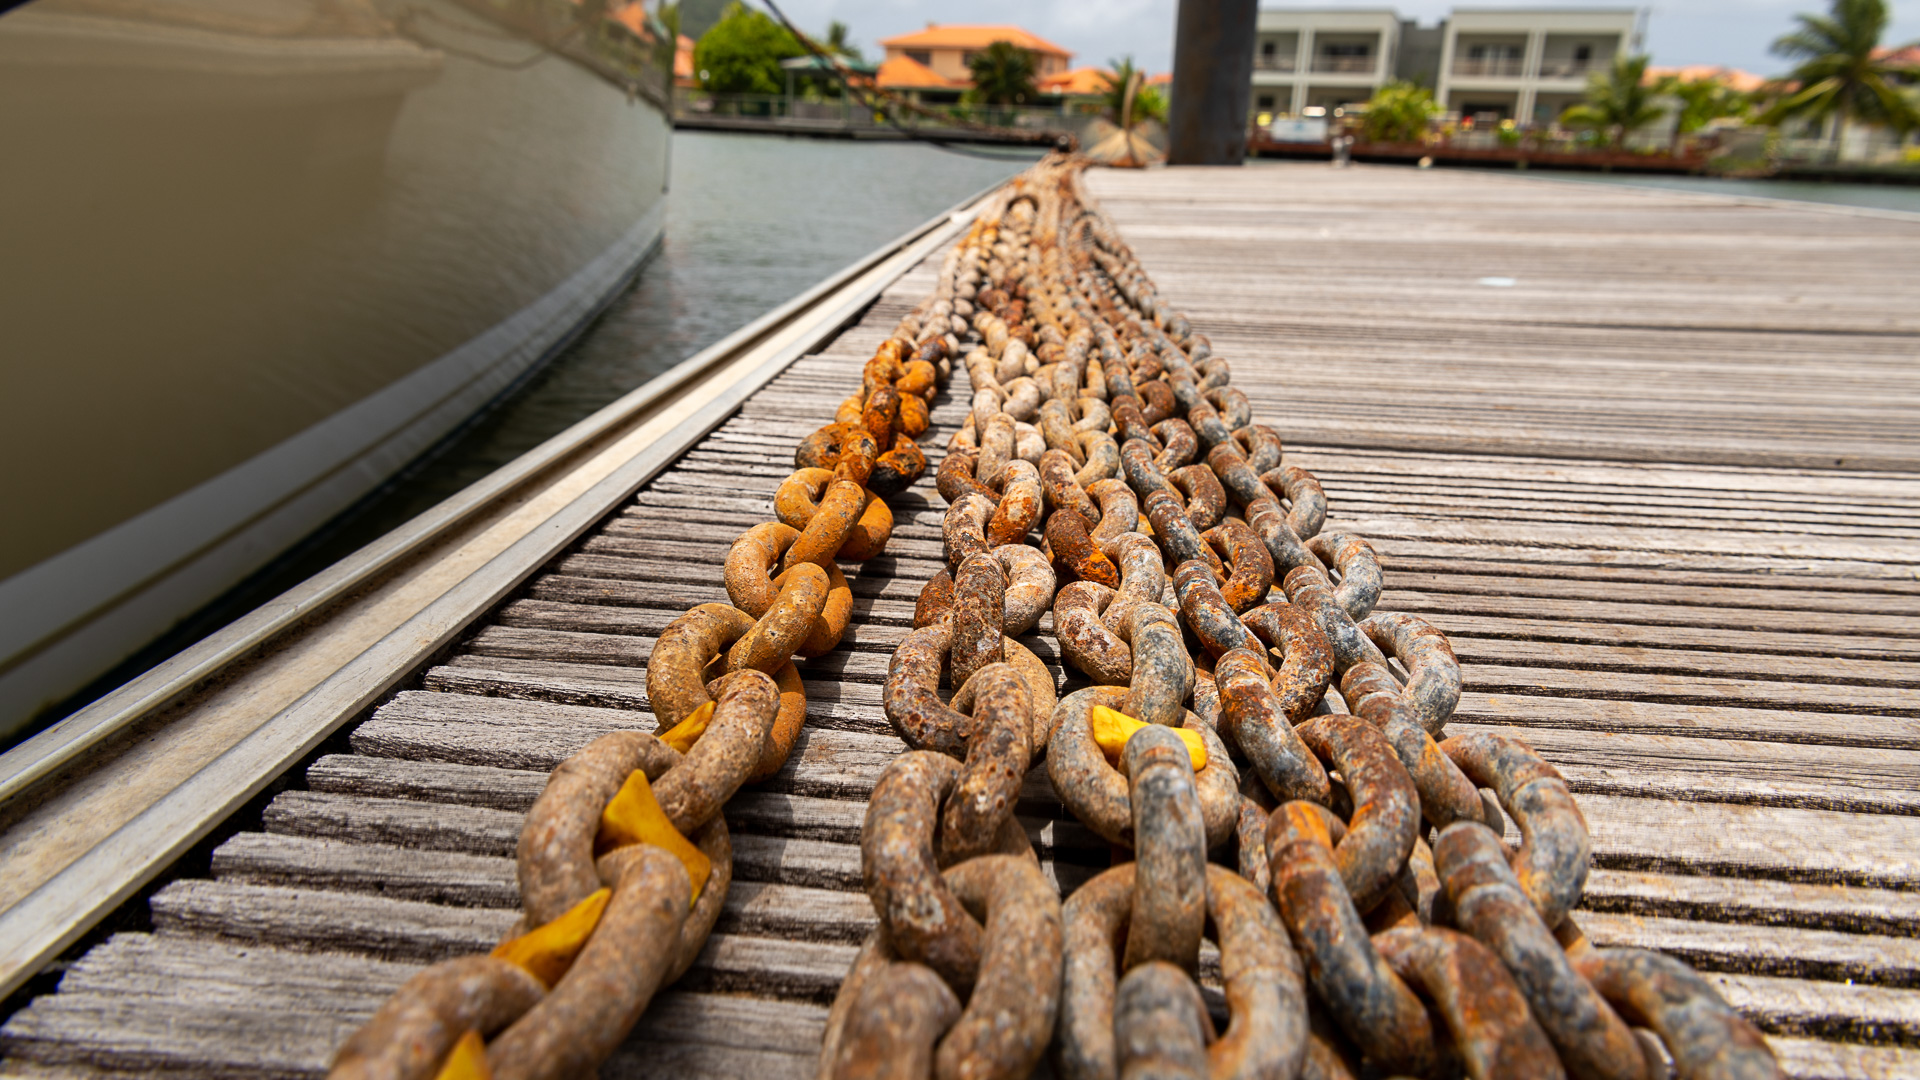
Rust
The last image is the ball of rusted links soaking in hydrochloric acid (also known as muriatic acid) to convert and remove the rust. After 24 hours of soaking the rust had converted but I still had to work 2 hours to pound the links and separate them so that it would pass through the hole in the windlass! I’ve ordered 300 feet of new G4 chain plus another 100 feet of rode and that should be sufficient ground tackle for the next couple of years. I’m going to ensure that the new chain is raised above the level of the standing water in the anchor locker as well so that my new acquisition doesn’t suffer the same fate as the old chain.
I arranged to have my old chain removed today and I’m sure they’ll salvage as much of it as possible; most of the old chain is in good condition but sections (spread throughout the chain length) are very bad and that makes it unusable for anchoring but perhaps they can re-purpose it in some fashion. I decided to use spray paint to mark the anchor chain at intervals in order to give the system a bit of redundancy if the chain counter didn’t work or for times when I was lowering the chain from the forward remote. I used a traffic light type system with a progression from green through yellow to red. And once that was done I had to add some shackles to the chain swivel because the new chain didn’t quite want to fit into the rear slot of the swivel. But after some work I finally got everything sorted out and the chain is now in the locker (with a bit of padding to keep it out of the standing water in there) and the project is complete.
The remote control is no longer working, the chain counter doesn’t change. I assume that the magnet used to detect rotation on the windlass has either fallen out or there is some other problem in the unit. Access is quite restricted, so I will do this task at the same time that the anchor chain is being done.
As part of removing the chain for cleaning, I realized how much rust and iron flakes had fallen off and contaminated the winch and its components. Once the chain was gone (a major project due to a solid ball of anchor links fused together with rust) I cleaned and serviced the windlass and found that the magnets were still there but covered in iron filings. Once that was removed the chain counter works again.
There are two sections underneath the engine where oil has leaked. Access is tough, but I really need to clean up this unsightly mess. I sucked up the oil with the pump and mopped up remains with paper towels
The genoa lead car system comprises two cars that are connected together with an iron bar and 4 screws. The screws/bolts on one of the cars have loosened and fallen overboard. I can get replacement bolts at the chandlery, but they are too long to fit in. I can’t source any others here so I will have to get out the Dremel kit and cut them to length. I had to run a power cable out to the dock for the varnishers to do their work, so I decided to get this task done at the same time. I delved into the depths of a forward bilge and got the Dremel tool and accessories and proceeded to cut the 3 bolts to length. The bolts are hardened and the Dremel cutting blade is small – but in the end it got done and I had the two cars connected again with new bolts.
Winches should be serviced regularly and mine haven’t been cleaned or serviced in a very long time. I can’t recall having done cleaning since Irma and I don’t know if it was done as part of the refit, either. Update 2021/08/23 Update 2021/08/24 Update 2021/08/25 | 7 |
I would like to add a cover to hide/shield the dinghy garage from sun and eyes. I keep the bay open when at anchor or at the dock and would like to hide the mess back there and keep the contents from prying eyes. I’d purchased 2 simple shower curtains at the local store and made up a taut line in the garage with Dyneema. The curtains now hang down, but I still need to cut them to size and put in some grommets to fix the bottom
Standard maintenance on the VW Diesel.
| One or more of the oil canisters have leaked into a closed-off section of the bilge. This needs to be cleaned up. It turns out that almost all of the plastic containers leaked! They were pressed into the compartment and time as well as boat movement gave them hairline stress fractures at the bottom; some leaked more than others. But in the end, I kept the one sealed container and used all the rest in an unscheduled oil change. | 2 |
Several of the grommets on the cushions have broken or are missing and need to be replaced or repaired. The work was quickly done with the repair kit, 6 broken attachments completed