Plastic vs. Wood
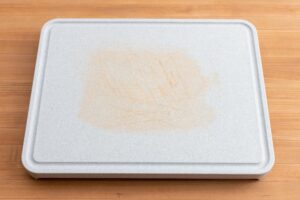
Plastic cutting boards are inexpensive and available everywhere. Flimsy, cheap wooden cutting boards are available in most supermarkets. Neither of those last particularly long. I dislike plastic boards because they exude microparticles. It is time to up my game and get an oak cutting board.
My flimsy plastic cutting board has deep cuts that are probably home to a myriad of microbes, most likely toxic types heretofore unknown to science. It is time to retire it. Instead of getting yet another disposable article, I decided to splurge and finally get the cutting board that I’ve always wanted.
Face/edge grain or end grain?
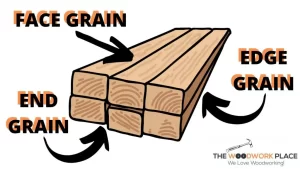
When the cutting surface of the board uses the face of the wood, the grain runs along the board, similar to wooden flooring. When the wood is cut so that the cutting surface resembles a ring cut from a tree, it is called end grain. Apart from the optics, end grain can last longer because knife cuts tend to slice between the fibres, which can spring back afterwards, unlike the face grain cuts, which can permanently separate the fibres and lead to quicker wear.
Wood types
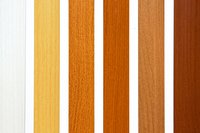
Several types of wood are commonly used for cutting boards. Typically, hardwoods are best because they wear down more slowly than softer woods. I’m a fan of oak, which is also the most common wood used. I like both the look and the wood’s tannins, which are also somewhat antiseptic.
Sizing
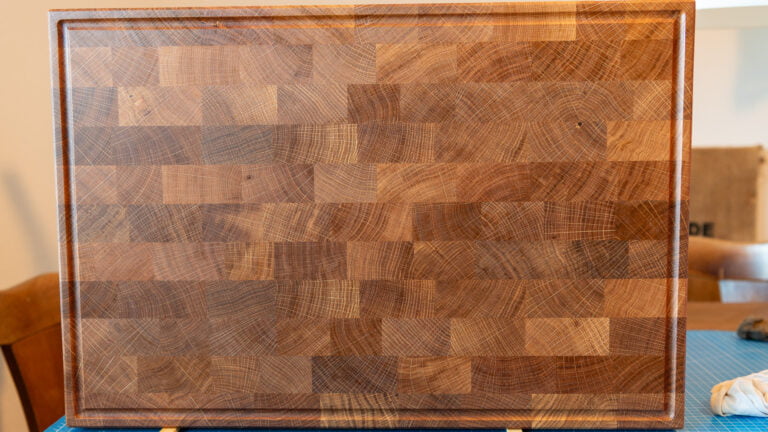
Since I’m splurging here, I opted for the “Goliath” model. And chose a full 5cm depth. The board weighs in at 11.8 kg (26 lbs for those still using archaic measurement systems). It is 60x40x5 in size, built in oak with end-grain construction, a juice groove to keep the table clean, and grip indentations on the sides to make lifting and turning easier.
My new cutting board
Choosing a manufacturer
I hadn’t found any boards I like locally at the stores, so I went searching on the internet and chose a small business from Bavaria, a company called Holz-Liebling. They had some impressive boards available on the site and also produced quite a few entertaining and informative YouTube videos which made waiting the 10-day delivery time-frame easier. I ordered my oak end-grain cutting board and waited.
Oiling
I’d requested that they not oil the board during production. They use a biologically safe boiled linseed oil to finish the cutting boards, but I preferred to use pure tung oil instead. Both of these oils are hardening oils, meaning they don’t go rancid as do cooking oils, but cure and polymerize over time to become a hard surface.
Pure tung oil dries quickly but can take over a month to fully harden and it isn’t used much commercially due to this. While adding drying agent and other chemicals to make this go faster is common, I wanted to go “old school” for this cutting board.
Waiting for the current layer to dry and cure. See the update coming below .
Arrival
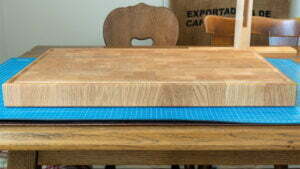
The board arrived as requested, without an oil layer. They use boiled linseed oil for their finish, but I wanted to do things differently. The oak striations and colouring aren’t prominent yet, that comes after applying oil. I like the German term for this, “Befeuerung”, which translates to “firing” (as in kiln pottery). That will bring the wood to life.
Initial Cleaning
After an initial dry cleaning, I used a spray bottle to lightly wet all sides. This brings up the grain in oak and I used some 0000 steel wool to sand it down and cleaned up afterwards. Then came the magic moment with the first layer of tung oil.
End Grain
The end grain functions like a stack of drinking straws and soak up the oil greedily, despite it being very viscous. I applied the oil liberally with a cheap brush (which shed bristles the whole time) and waited an hour. After that I applied more tung oil to the dull spots where the oil had soaked in completely. After several passes the surfaces started getting saturated. Once I’d reached that stage I was finished for the day. I used some rags to remove all of the excess tung oil until the board felt almost dry to the touch.
Day 1
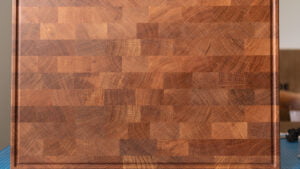
Tung oil is a drying oil, just like linseed oil. Given enough time and exposure to oxygen, these drying oils will harden in a process called polymerization. Although pure Tung oil will feel dry to the touch after about one day (or longer, in a cold and humid environment), it won’t fully cure to its final hardness for several weeks.
Pure Tung Oil
Commercially available Tung oils in hardware stores are filled with chemical drying agents and other chemicals. Often, items labelled as Tung oil won’t have any Tung oil in them at all or have very little. But they will dry and cure very quickly. I’m using pure oil, the first layers diluted with natural Citrus solvent made from orange skin extracts. Not only is this food-safe, but it smells very nice as well. The downside is that it takes a very long time to dry. But I’m in no great hurry to finish my end-grain oak cutting board.
Waiting…
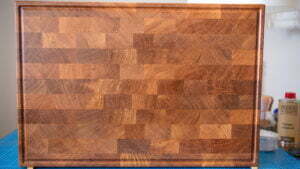
After 24 hours the surface was nice and dry. I wet it again to raise the grain, let the water evaporate and then sanded it lightly with 0000 steel wool. Then I applied the second layer after cleaning the surface. This time the board accepted less oil, but it was still quite “thirsty”. By the time I’d finished it was dark, so I didn’t take any pictures; the one in this post is from the morning after.
Saturation
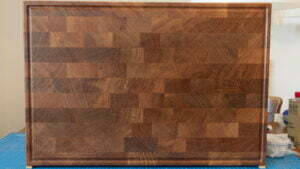
This layer accepted noticeably less Tung oil, but my flat still smells like a citrus grove. The diluted Tung oil is quick and easy to apply and it dries quicky; although there’s less actual Tung oil going onto the board each time. But many thin layers are far better than fewer thicker layers, so I’ll just keep on slowly getting the board ready for use.
Diluted Layers
Today was a rest day, letting the oak end-grain cutting board get a brief respite from oiling.
Cool Nights
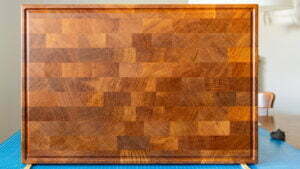
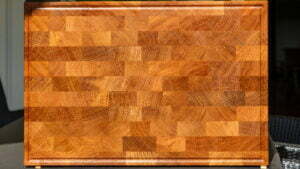
It has been cooling down at night, but the sun came out today, so while I went shopping for groceries at lunch, I put the board out in the sun. When I got back the heat of the sun has “sweated” some of the oil out of the board and I smelled the citrus solvent. I expected it to be more volatile and have evaporated already.
Undiluted Final layer
I’ve applied a thin layer of undiluted Tung oil and think that this is enough; I’m not finishing a fine piece of furniture but a work item. I’ll give it two more days to dry on the outside before using it for the first time.
The first uses will be light (perhaps kneading some dough) since the surface might be dry, but the curing process underneath will take a week before it is somewhat hardened and a month to get sufficiently hard for me to emulate the Swedish Chef.
Almost Finished
I looked at the oak end-grain cutting board this afternoon and it is looking good and quite dry to the touch. But instead of continuing to watch it dry, I decided to put on one extra layer, just a thin one.
Just one more layer today. No dilution with thinner and it is barely soaking in. One can see that oil still comes out after heating with a hair-drier, but otherwise my oak end-grain cutting board is looking almost finished.
I couldn’t resist adding just one more thin layer today, I’ll use my plastic cutting board tonight for food preparation.
Still adding layers…
I’d put the board in the sun yesterday and quite a bit of uncured oil leeched out. After I wiped up the seepage the board feels dry to the touch, but I’m going to let it sit and cure for a couple of days. I think it has been fed enough Tung oil for the time being.
Getting to the finish
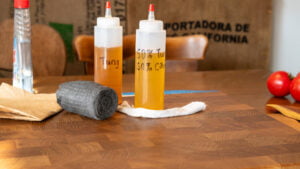
The oak end-grain cutting board is looking better with each coat. I can’t leave it alone, though.
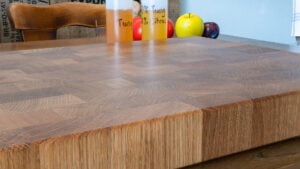
Today I sanded the surfaces with some 0000-steel wool and gave it a very light coat of 50% Tung oil diluted with citrus solvent.
I’ve now had this cutting board for several months. I’m still adding very thin layers of pure Tung oil with 50% citrus solvent thinner. Using a slightly soaked cloth I rub in just enough Tung oil to make the surface a bit shiny, but not enough to require using another cloth to remove it. I’m storing the cloth in an airtight baggie and re-using it; sometimes I don’t even have to add any oil.

