Humble beginnings
My original home desk was purchased before the COVID-19 outbreak and intended for infrequent, casual use. That means browsing the internet and doing other computer-related activities in the evening and on weekends. COVID-19 changed all that. Now that the desk was seeing 8-9 hours of home-office work daily, and then a couple more hours of private use. The desk and chair were purchased from the “Bargain Bin” section of a local furniture store, so they were no longer fit for purpose. I want a leather desktop. Not just a leather pad, but the whole surface is covered in vegetable-tanned leather.
Version 1.0 had two monitors on stands and an A3-sized blue cutting mat as a writing pad. No leather and no style at all. I bought a vegetable-tanned leather hide and cut it to size. Then, I treated it with neat’s-foot oil, polish, and wax to make a nice writing surface for Version 2.0

Next came the 2.1 upgrade to a larger and thicker vegetable-tanned leather cover. This was purchased directly from a tannery. Then, a third monitor was added to the mix. I planned to cover the entire surface of the table, but when buying leather online, the dimensions aren’t exact, and this one couldn’t be cut to fit the whole tabletop, so I made do by leaving some room on the sides. This was close to the coverage I wanted for a leather desktop, but the foundation was poor.
One evening, I noticed that my modifications had caused the cheap plywood desktop to bow slightly in the middle, and it was time to either add a board to the desk or replace it.
Custom Leather Desktop Part I
I’d always wanted a home office with an electrically adjustable height. After searching Google, I found that IKEA had a model in stock at a reasonable price, so I ordered it. 180cm x 80cm tabletop, and I found a tannery with a half-hide of raw vegetable-tanned leather that would be big enough to cover the complete desk.
The hides and table components finally arrived, and I started construction. I don’t have a bathtub here, but I put the hide in the shower and made sure it was soaked through and through. I then stretched it to the one position where it was big enough to cover the entire desk (with one small exception: a cut in the hide right at the back right-hand edge). I pulled it into place and around the edges of the tabletop, and subsequently used a wooden kitchen roller on the top surface. Rolling from the centre towards the edges ensured there were no creases. The judicious use of a mallet and smoothing tools on the edges and corners shaped the leather there as well. Finally, I used an awl to make holes in the skin edges on the underside for the twine to pull all the sides together. I’m a fan of the trucker’s hitch, which lets you tension lines easily. After things were taut under the table, I used some glue on the underside corners, and then came the boring part – waiting.
Custom Leather Desktop Part II
It took over 3 days for the leather tabletop to dry sufficiently, despite being in my heated living room. But I guess that 4mm thick vegetable-tanned leather can soak up a lot of water, and it could only evaporate off the top.
Once it was dry, I removed all my rope work, trimmed the bottom edges, and used contact cement to ensure everything adhered.
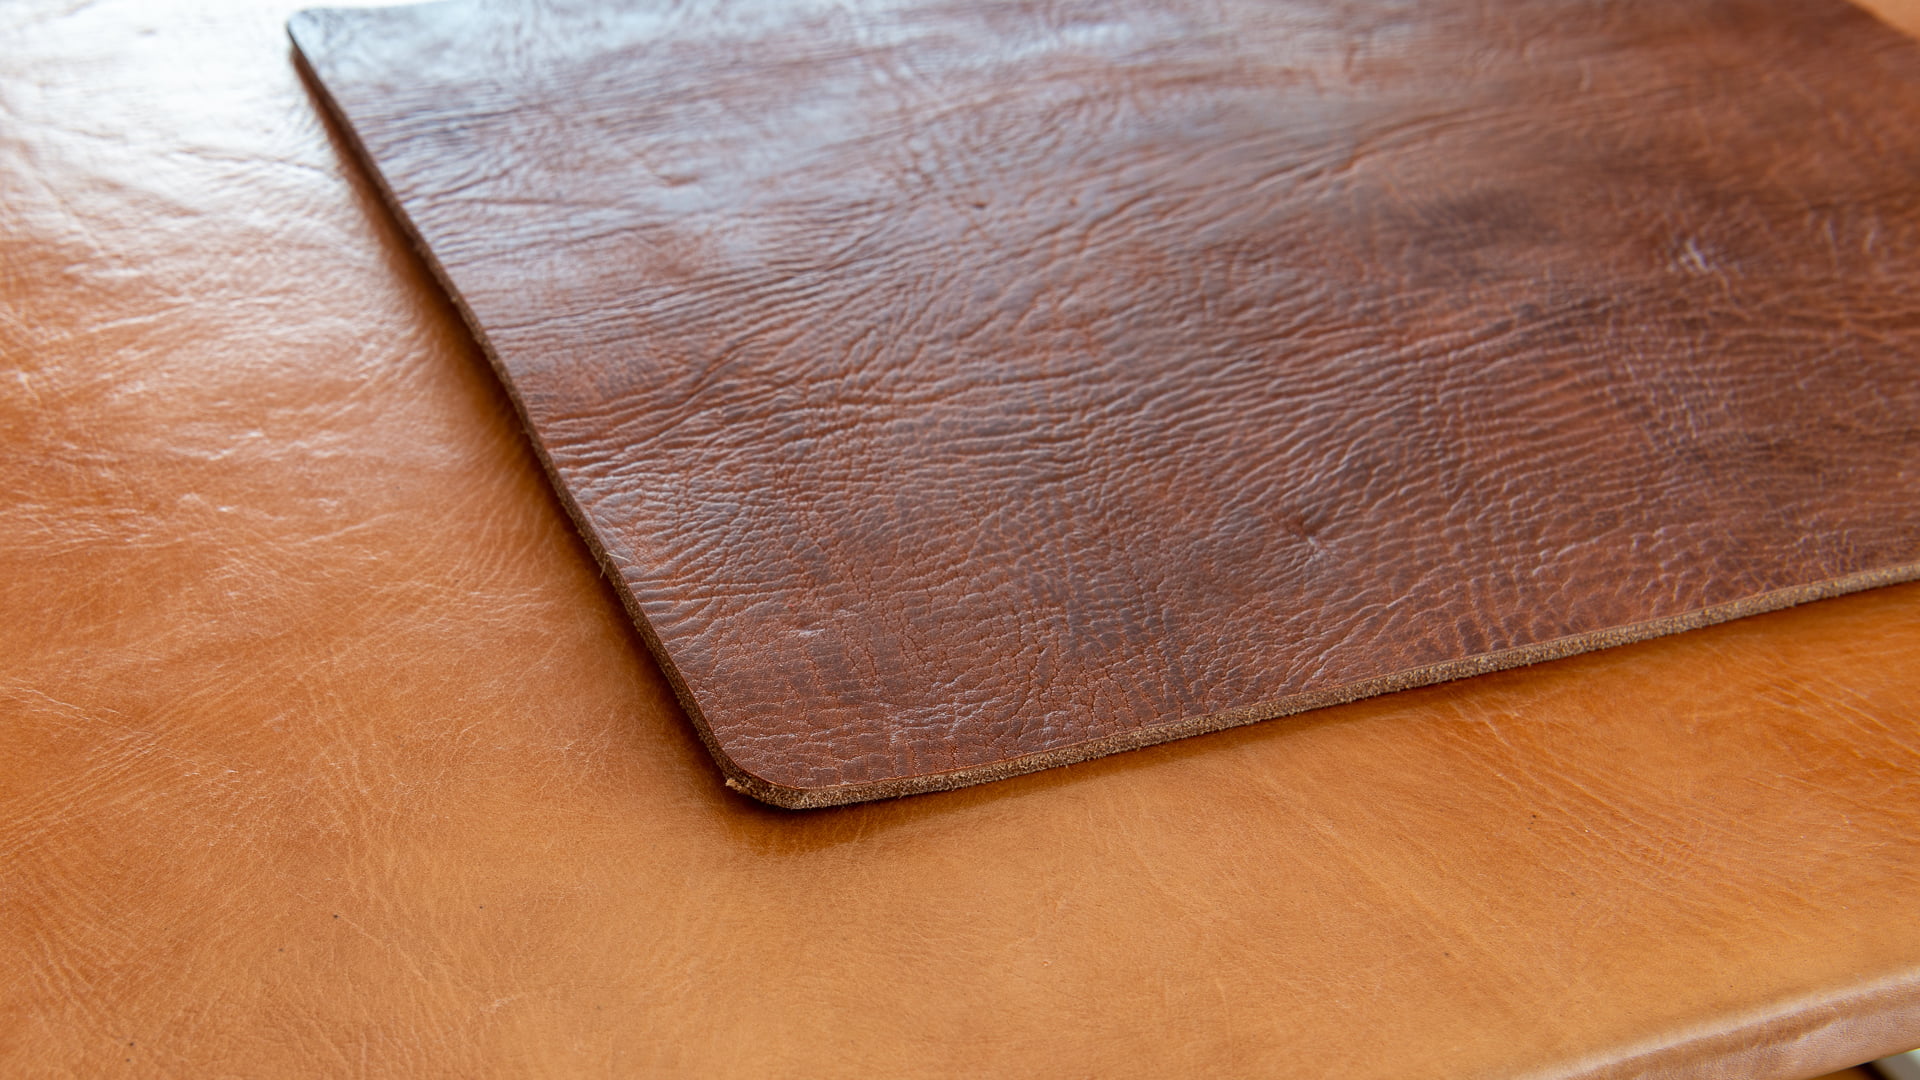
Then came a thorough cleaning with saddle soap, followed by an overnight drying phase. And finally, I could apply the conditioning compound, a beeswax preparation used for waxing saddles. It smells fantastic, and I used my hands to apply it and have never had softer skin! The heat of my hands melted the wax, allowing me to massage it into the dehydrated leather. I did this several times, using a cloth and brush between applications to remove any excess. I waited a couple of hours or more between layers, so this took some time. The picture shows an untreated piece I’d cut from the hide to show how the leather darkened and picked up character and depth during the wax treatment.
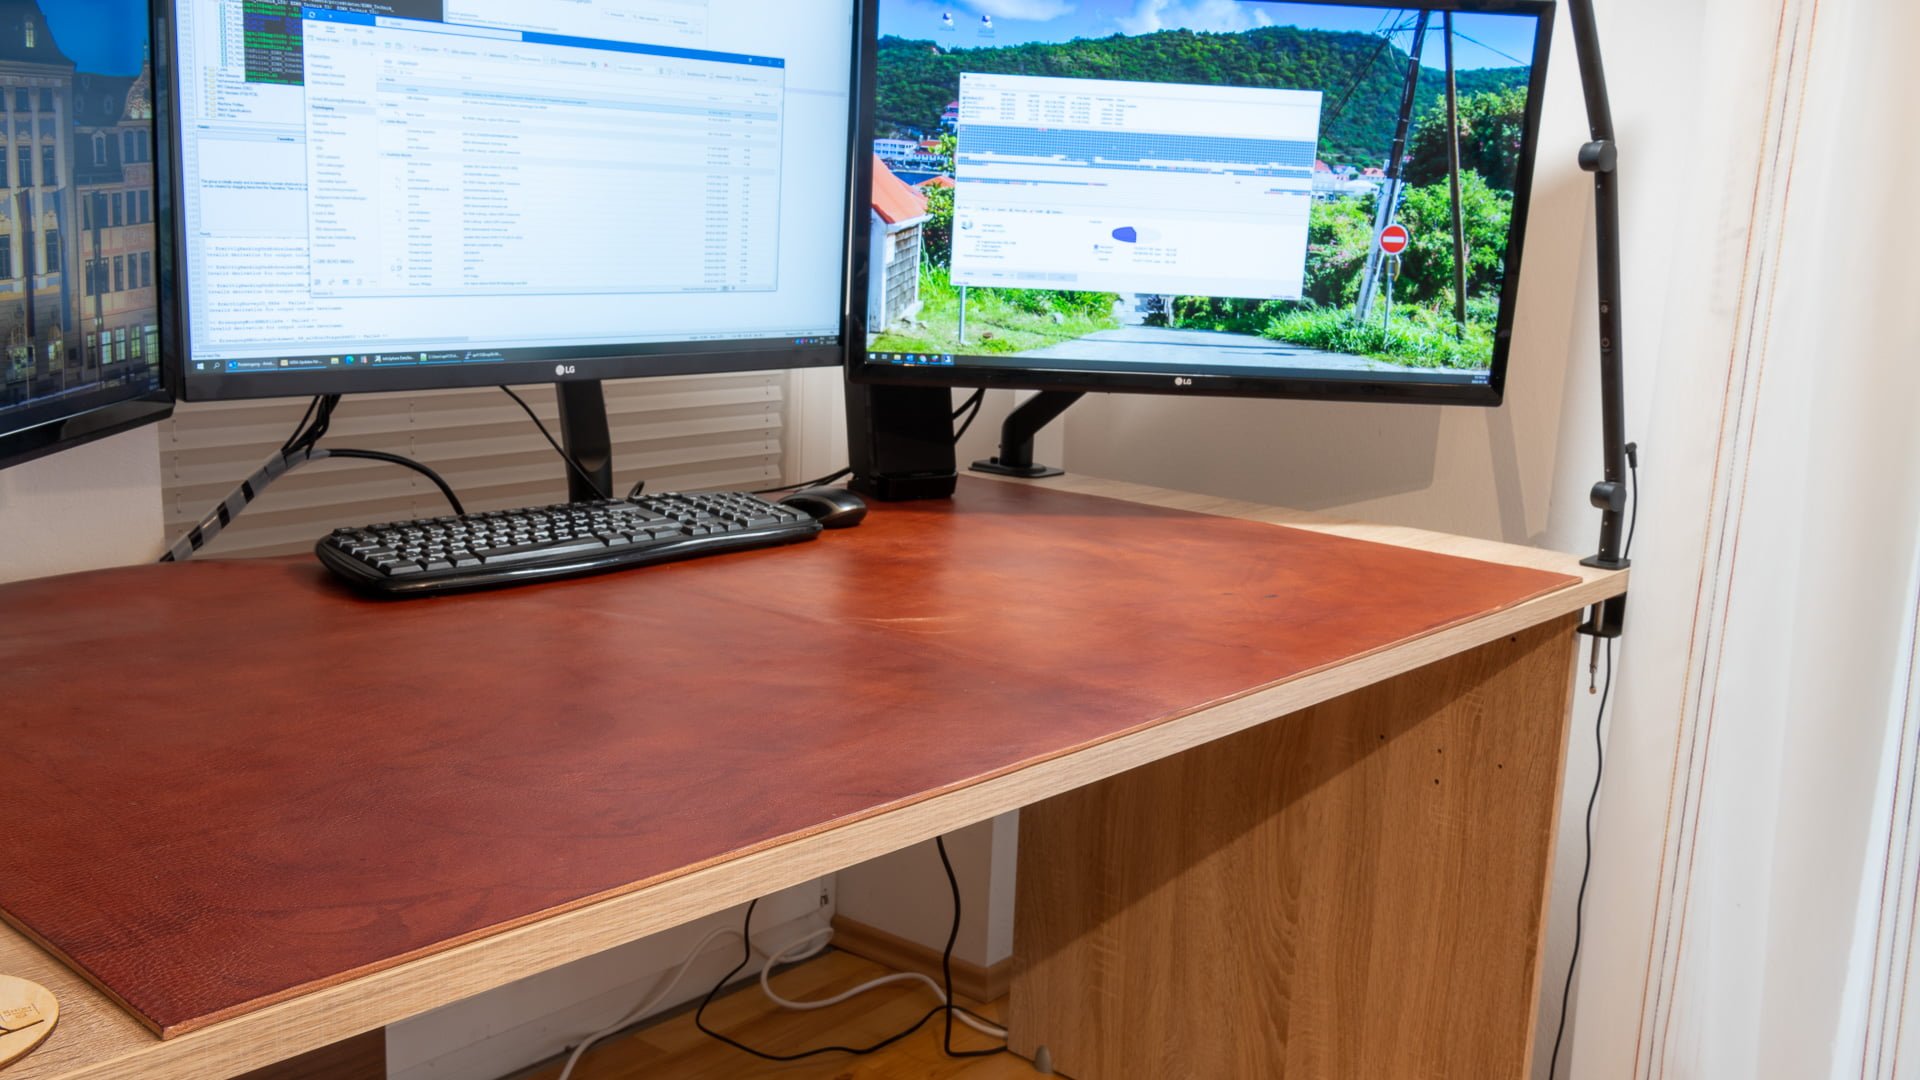
I then got the table in place, attached my 3-monitor swivel feet, and started cabling everything so I could lift the table high without ripping anything out of the PC.
The work was worth it, not only because I enjoyed working with leather, but also because the writing surface is excellent to work on and resistant to staining from coffee spills and red wine drips, thanks to the extensive conditioning. I could have used neat’s-foot oil and other preservatives to preserve the leather, but I didn’t want to darken it prematurely, as I’m sure the desktop will develop a patina over time.
Addendum in July, 2022
I used one of the scraps of leather from this project to make a work pad that I could put on top of the desk and protect it when doing tasks like soldering or cutting things. I applied 2 layers of light leather oil before waxing it with the same compound as the original tabletop, but the difference in coloration is significant.