Work Desk
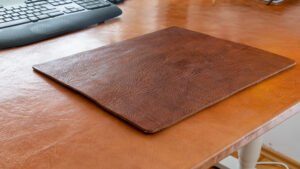
My leather desk is slowly developing a patina, and I want to keep that nice surface unspoiled for as long as possible. I needed a protective layer on top for those times when I’m doing handiwork, and the blue self-healing cutting mats might work well, but I thought I could do a bit better.
Work Pad Construction
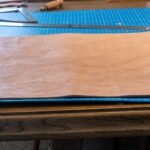
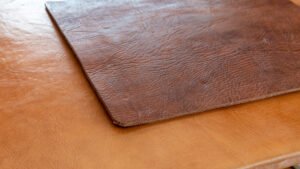
I had some scraps of vegetable-tanned leather left over and found one area I could cut into a rectangle and use as a work surface. I cut out the section, rounded the corners, and cleaned up the edges a bit. This is a work mat, so I’m not going to sew or burnish the edges.
 Oiling
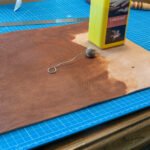
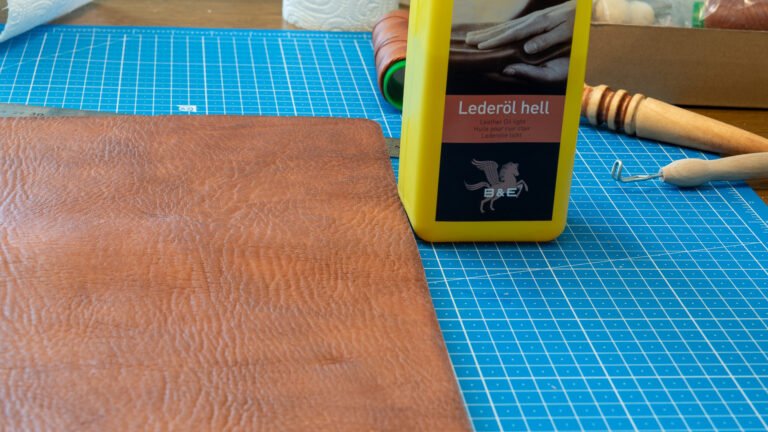
This leather is dehydrated and desperately needs some nourishment. I gave the topside two layers of B&E light leather oil and one thin layer on the back (rough-out) side.
After letting the oil soak in for a while, I applied a layer of B&E Beeswax Leather Balm and rubbed it into the leather. I then took a walk in the woods behind my place.
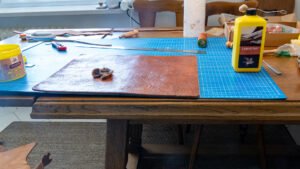
When I returned, I gave it another good layer of wax. I used a hair dryer to melt the wax and let it penetrate the leather, using the application cloth to push it in.
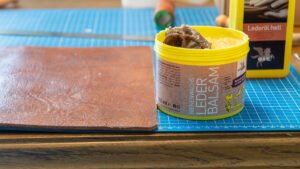
With just a bit of labour, I now have a protective layer for my desk. Hopefully, I’ll use it when cutting things with a knife. Or soldering. Or doing other tasks that might mar or scuff the desktop.
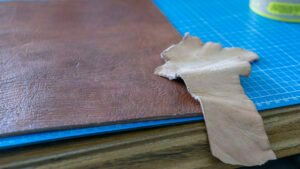
I felt I should add one more image, showing the differences in colour in the same cut of leather depending upon how it was prepared. I didn’t use any dyes on either piece. The desk was treated with a couple of layers of beeswax (melted in with a hairdryer) and after that all it got was a coat of Fiebing’s leather balsam. The work mat was taken from a thick and less smooth portion of the same hide and got 2 coatings of light leather oil and then the same beeswax. This time I used a bit more wax and ironed it into the mat.
