
Roasting coffee at home
Roasting green coffee beans to make that perfect cup of coffee can be done at home with minimal investment in materials and time. While a professionally roasted coffee is always going to result in a somewhat better bean due to the exact control of the different roasting steps, home-roasted coffee is still superior to what one can get at the typical grocery store, and it is a lot more fun (and cheaper) to make. Here’s a step-by-step explanation of today’s coffee roasting
Which green coffee beans to use

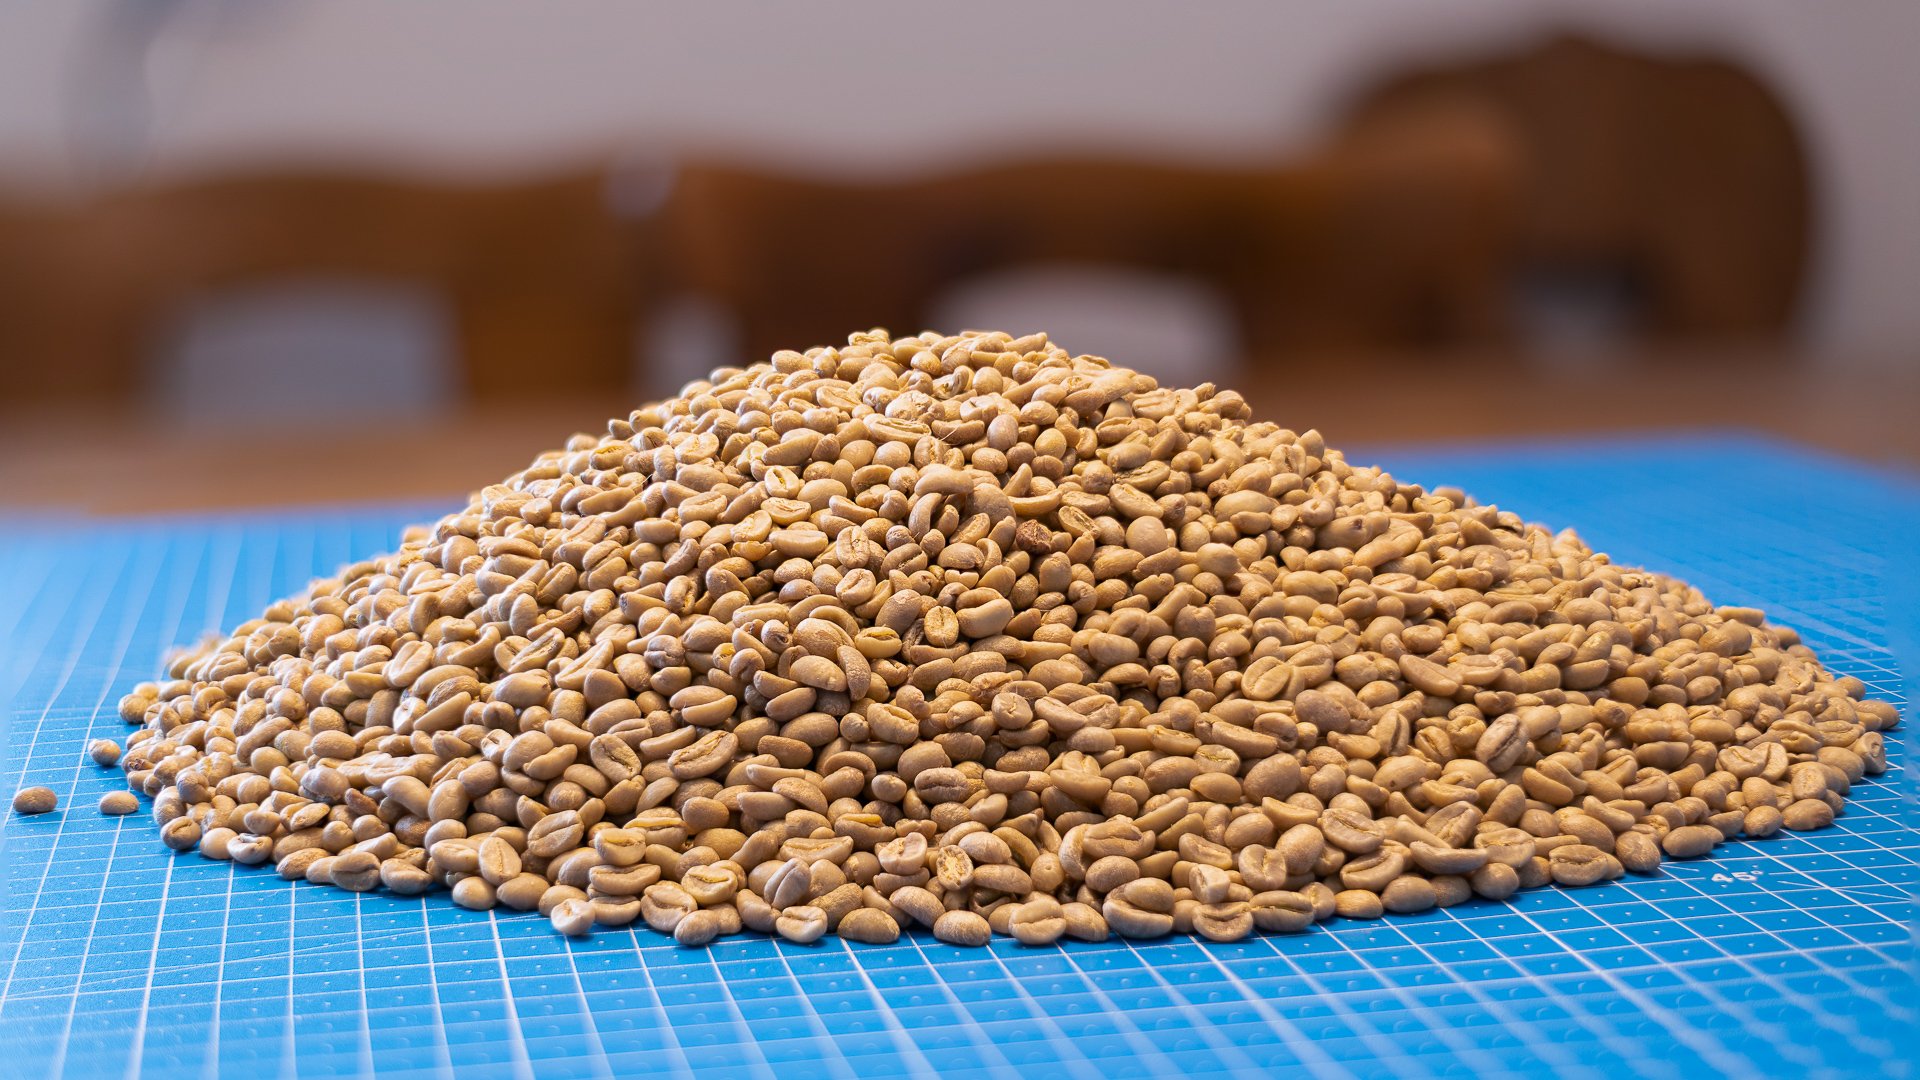
Numerous companies sell green coffee beans, and once you’ve found a reputable source, you need to choose which coffee bean type (usually Arabica or Robusta) and region/country/altitude you prefer. There are numerous sources of information on the different qualities and tastes of these beans so that I won’t go into the decision-making process here. I like high-altitude single-sourced coffees, and since Africa is the home of coffee, I go right to Ethiopia for my preferred beans, usually washed.
Today, I’m roasting some Ethiopian coffee from the Sidamo region, sold by Rohebohnen.de in Germany.
Sorting green coffee beans
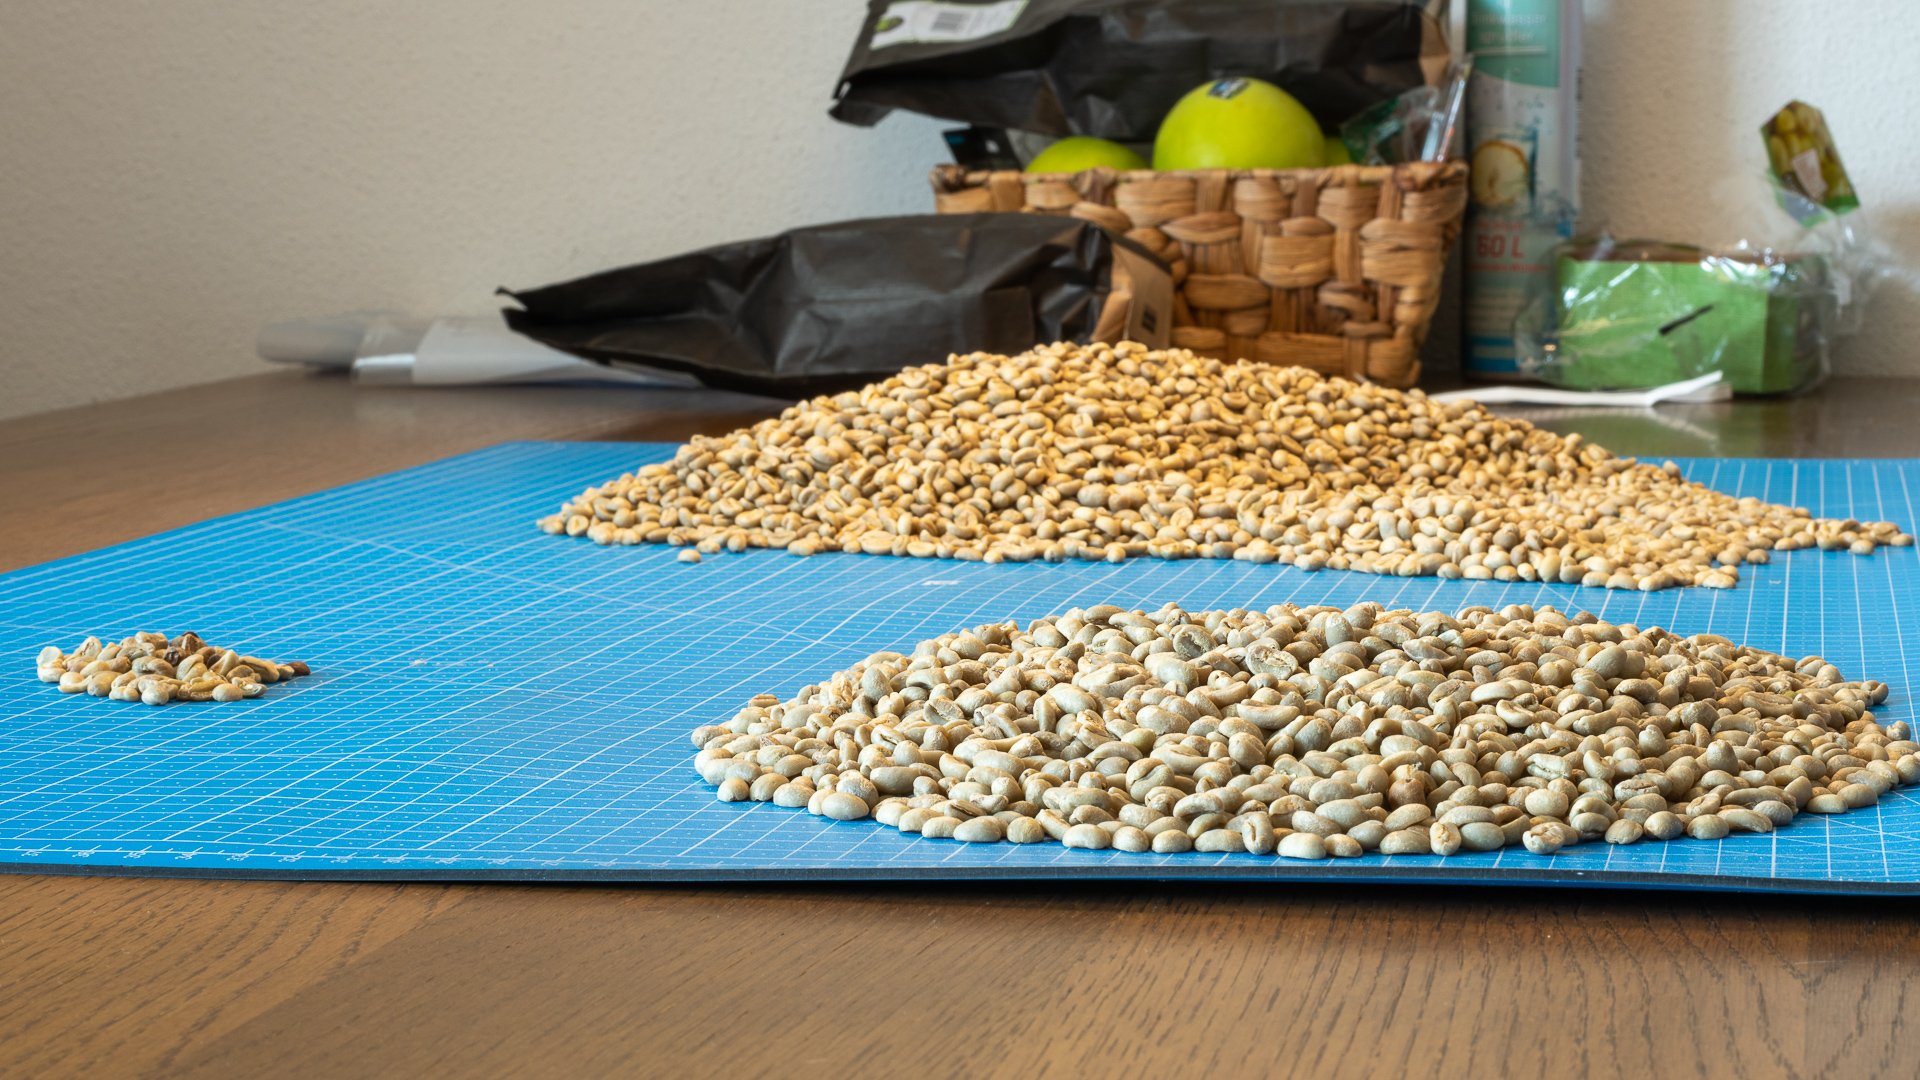
While the distributors’ automated processes are pretty good at removing most contaminants and faulty beans, I manually sort through the beans again to clean them up further. The SCA (Specialty Coffee Association) has a nice list of green coffee bean defects available as a downloadable PDF here.
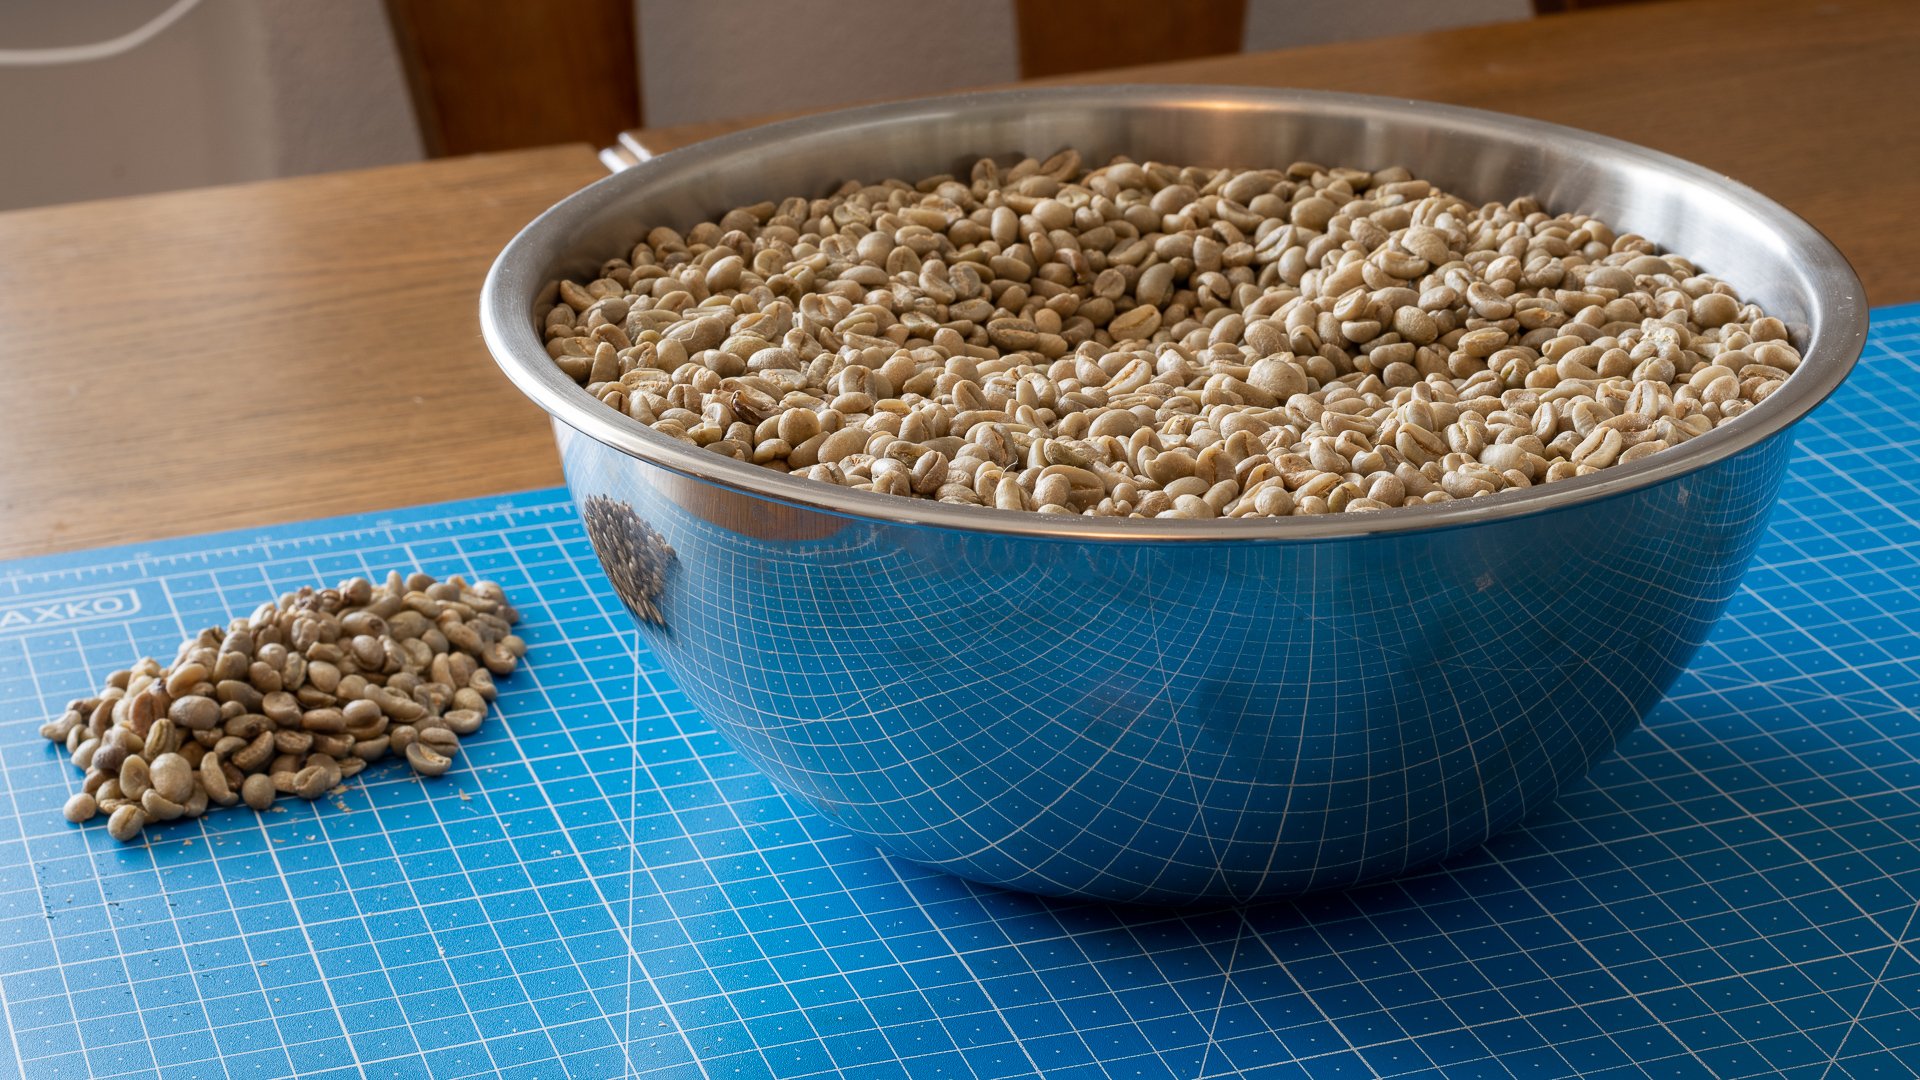
I’m not that good at detecting all the defects, but when I see a marginally acceptable bean, I’ll cast it aside, as I’m willing to sacrifice quantity for quality and don’t need to make a profit on my roast. This manual sorting takes a while; in this case, the first two movements of Beethoven’s 9th Symphony (I lean towards classical music on Sundays).
Home roasting
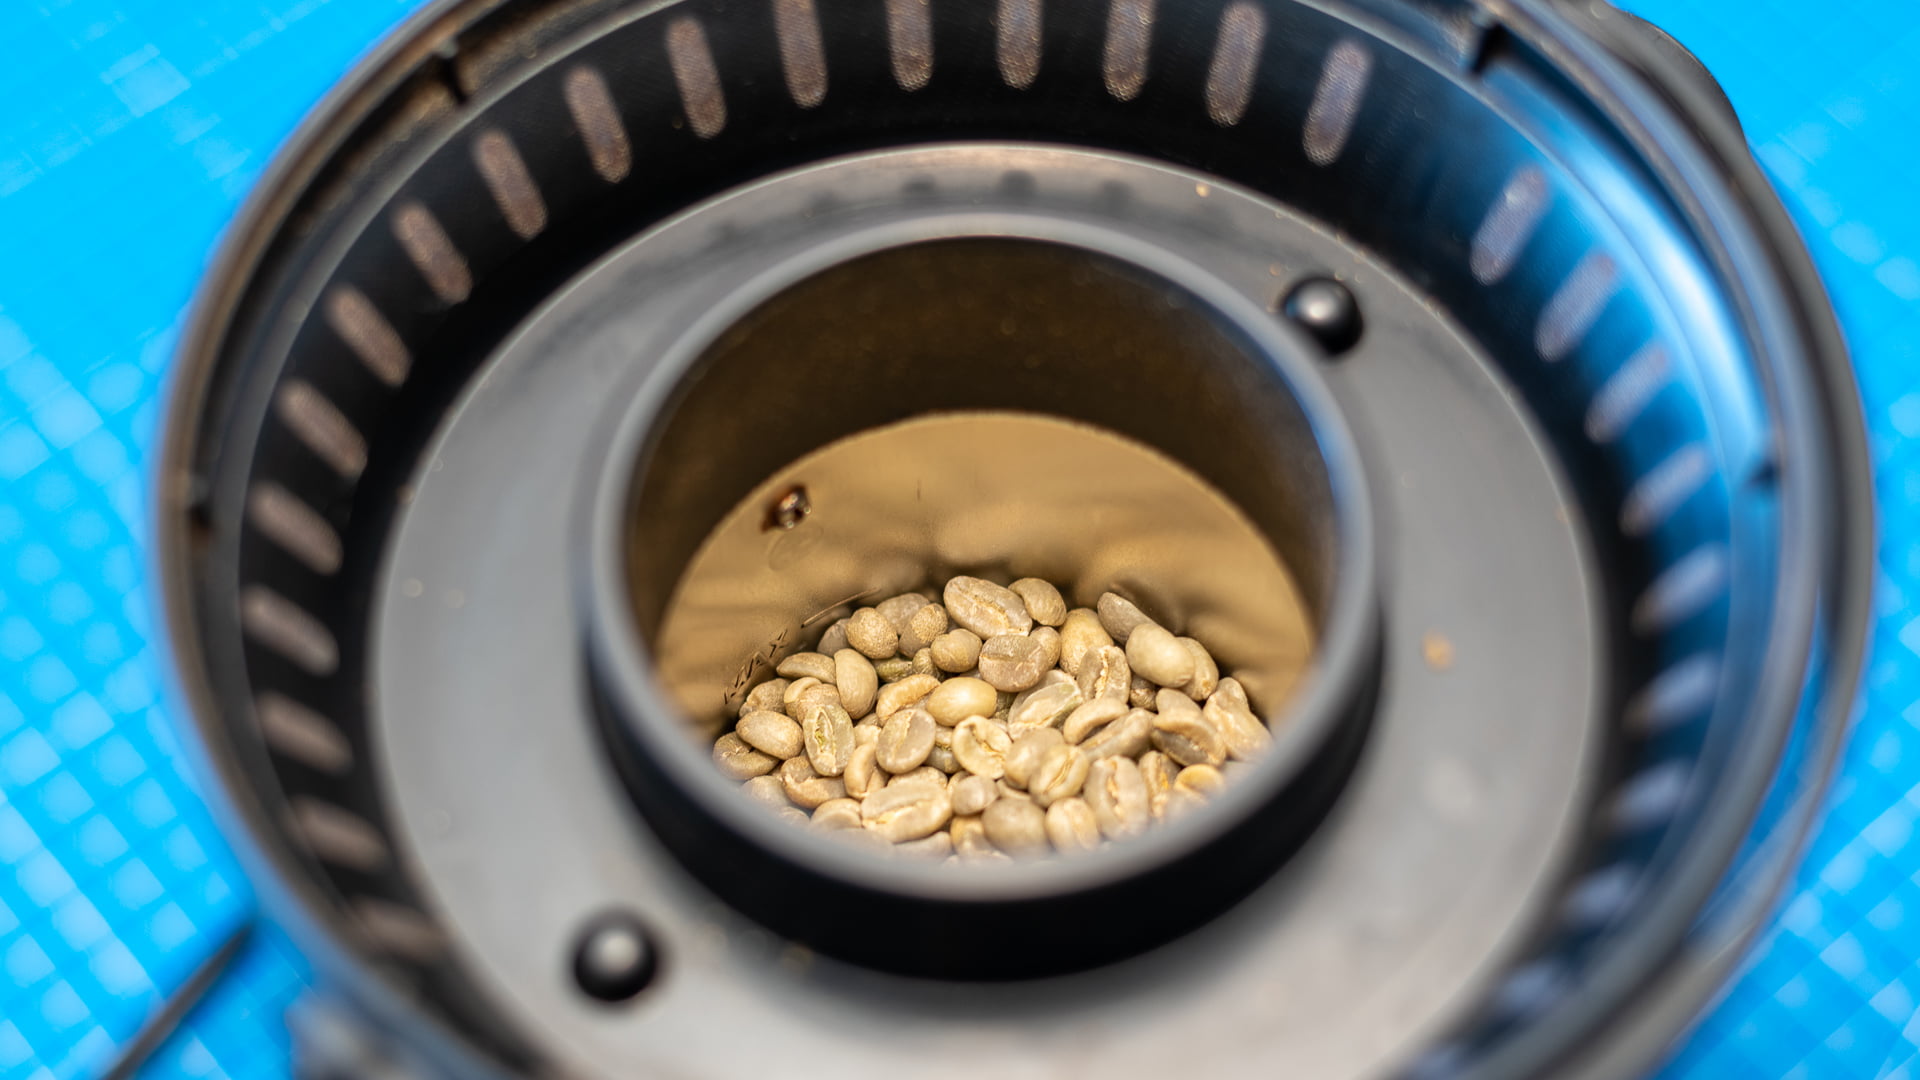
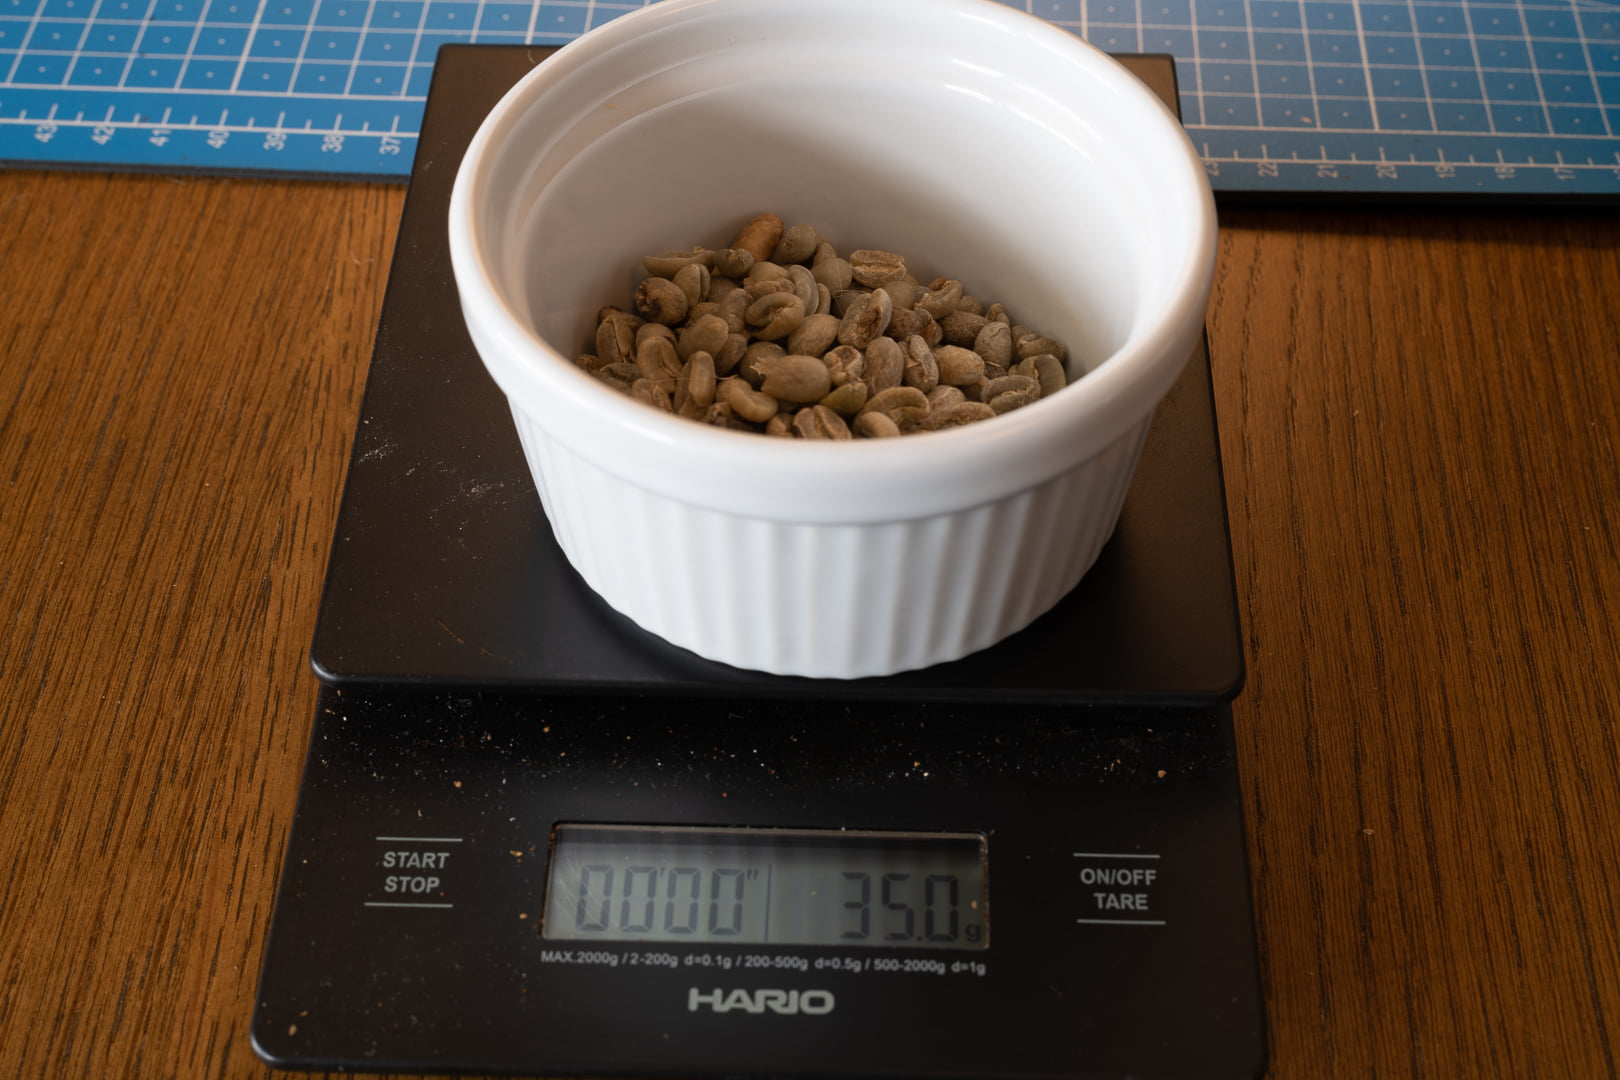
I got a relatively inexpensive Beem home roaster, which is similar to a popcorn popper in principle and allows just two different roast levels. This is enough for my simple home purposes. It is easy to use: press “light” or “dark” (the differences are not particularly significant), and the roaster takes care of everything else, including the cooling-down phase.
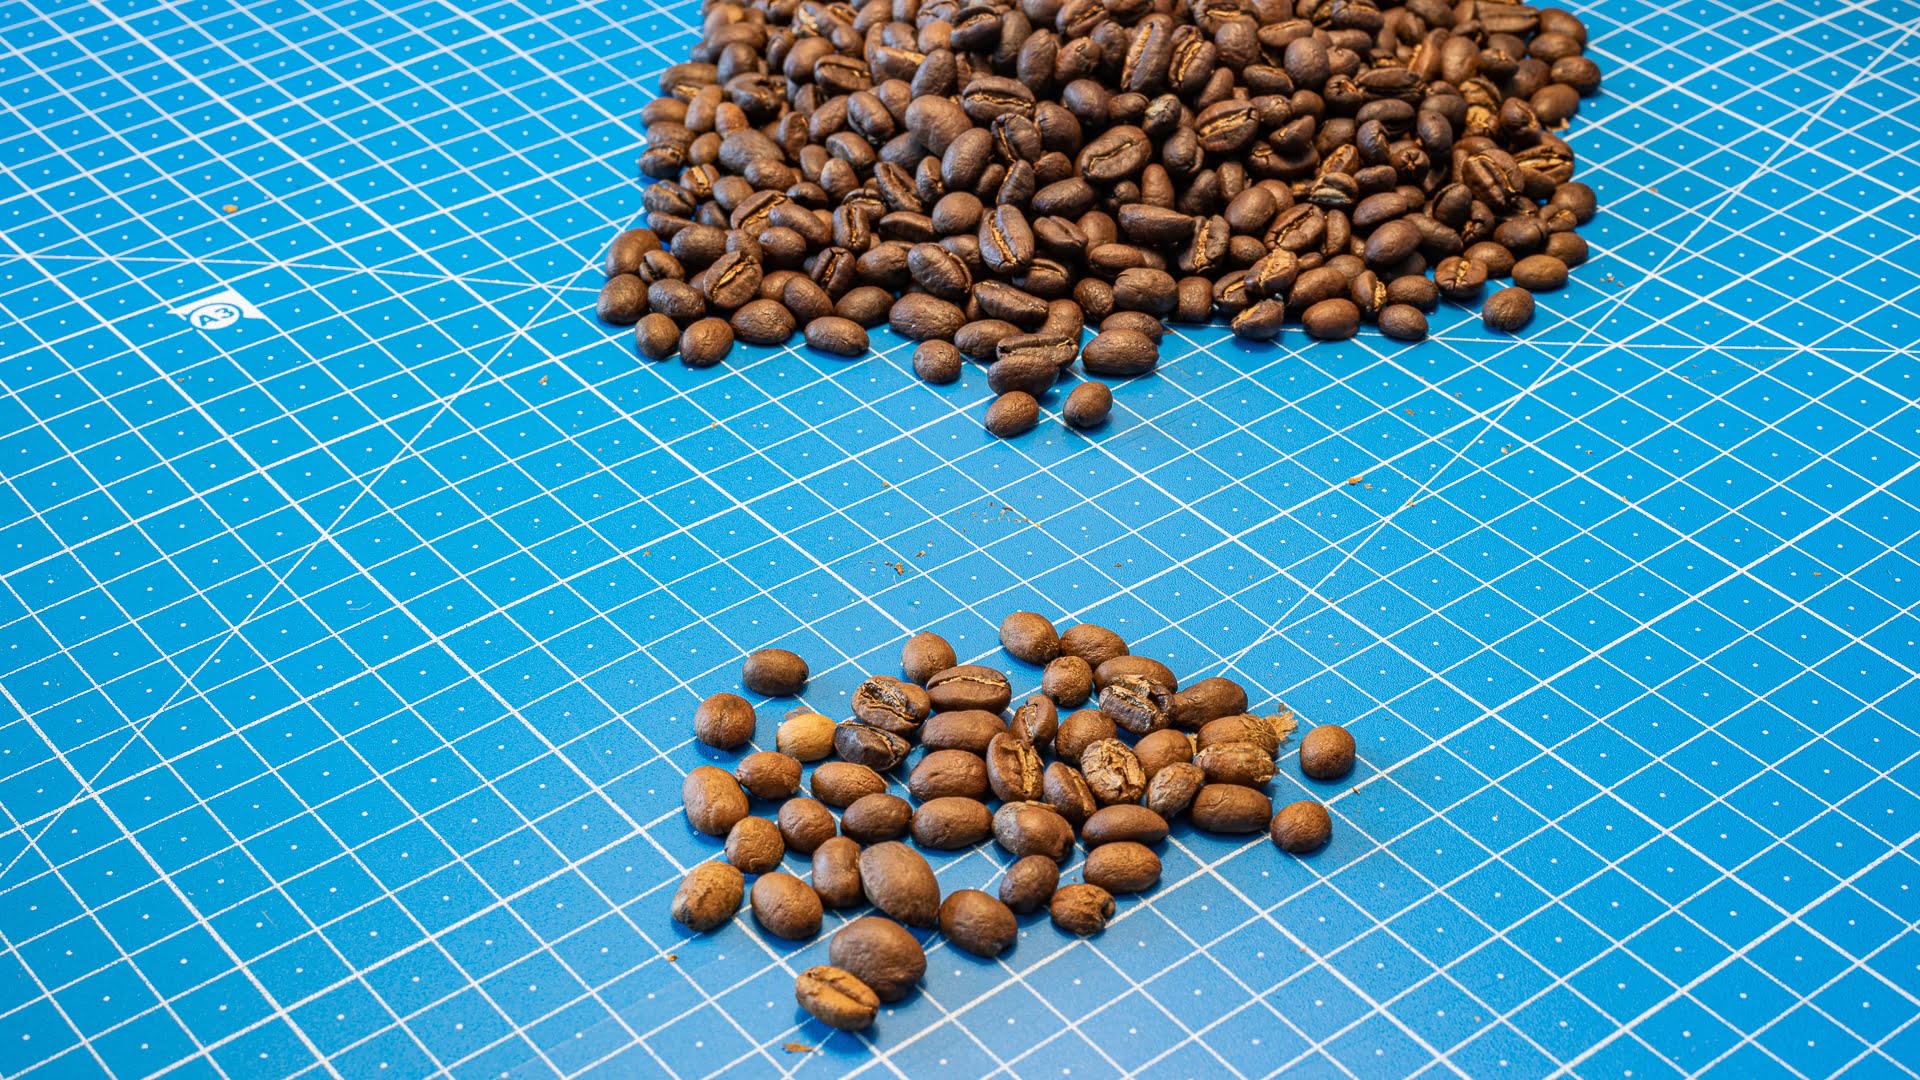
Final sorting
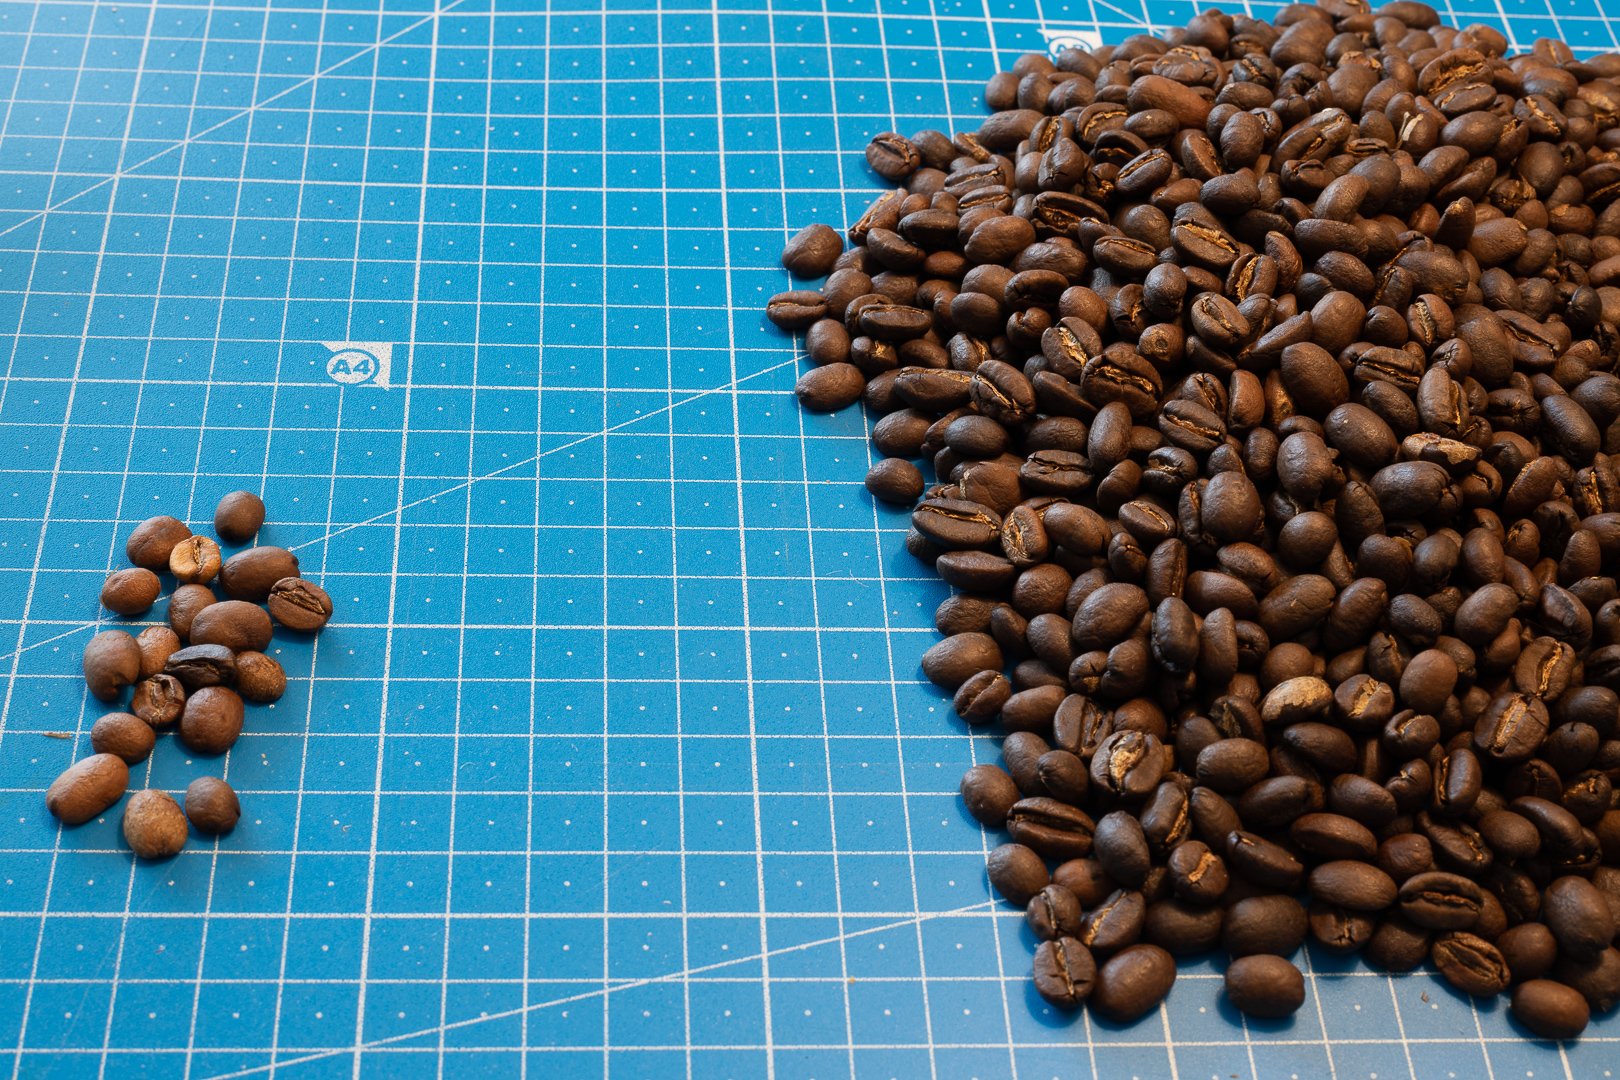
Despite pre-sorting the green beans, some beans do not roast and end up being “quakers“, which can give a coffee an off taste. So after roasting, the beans need yet another manual sorting before being placed in the airtight, lightproof container. This time, there are just a few beans that get rejected, those that are significantly lighter than the rest of the roast. This is because they were either under-roasted or had fewer carbohydrates than the rest of the beans, and thus were not darkened by the Maillard reaction.
Let the coffee “age”
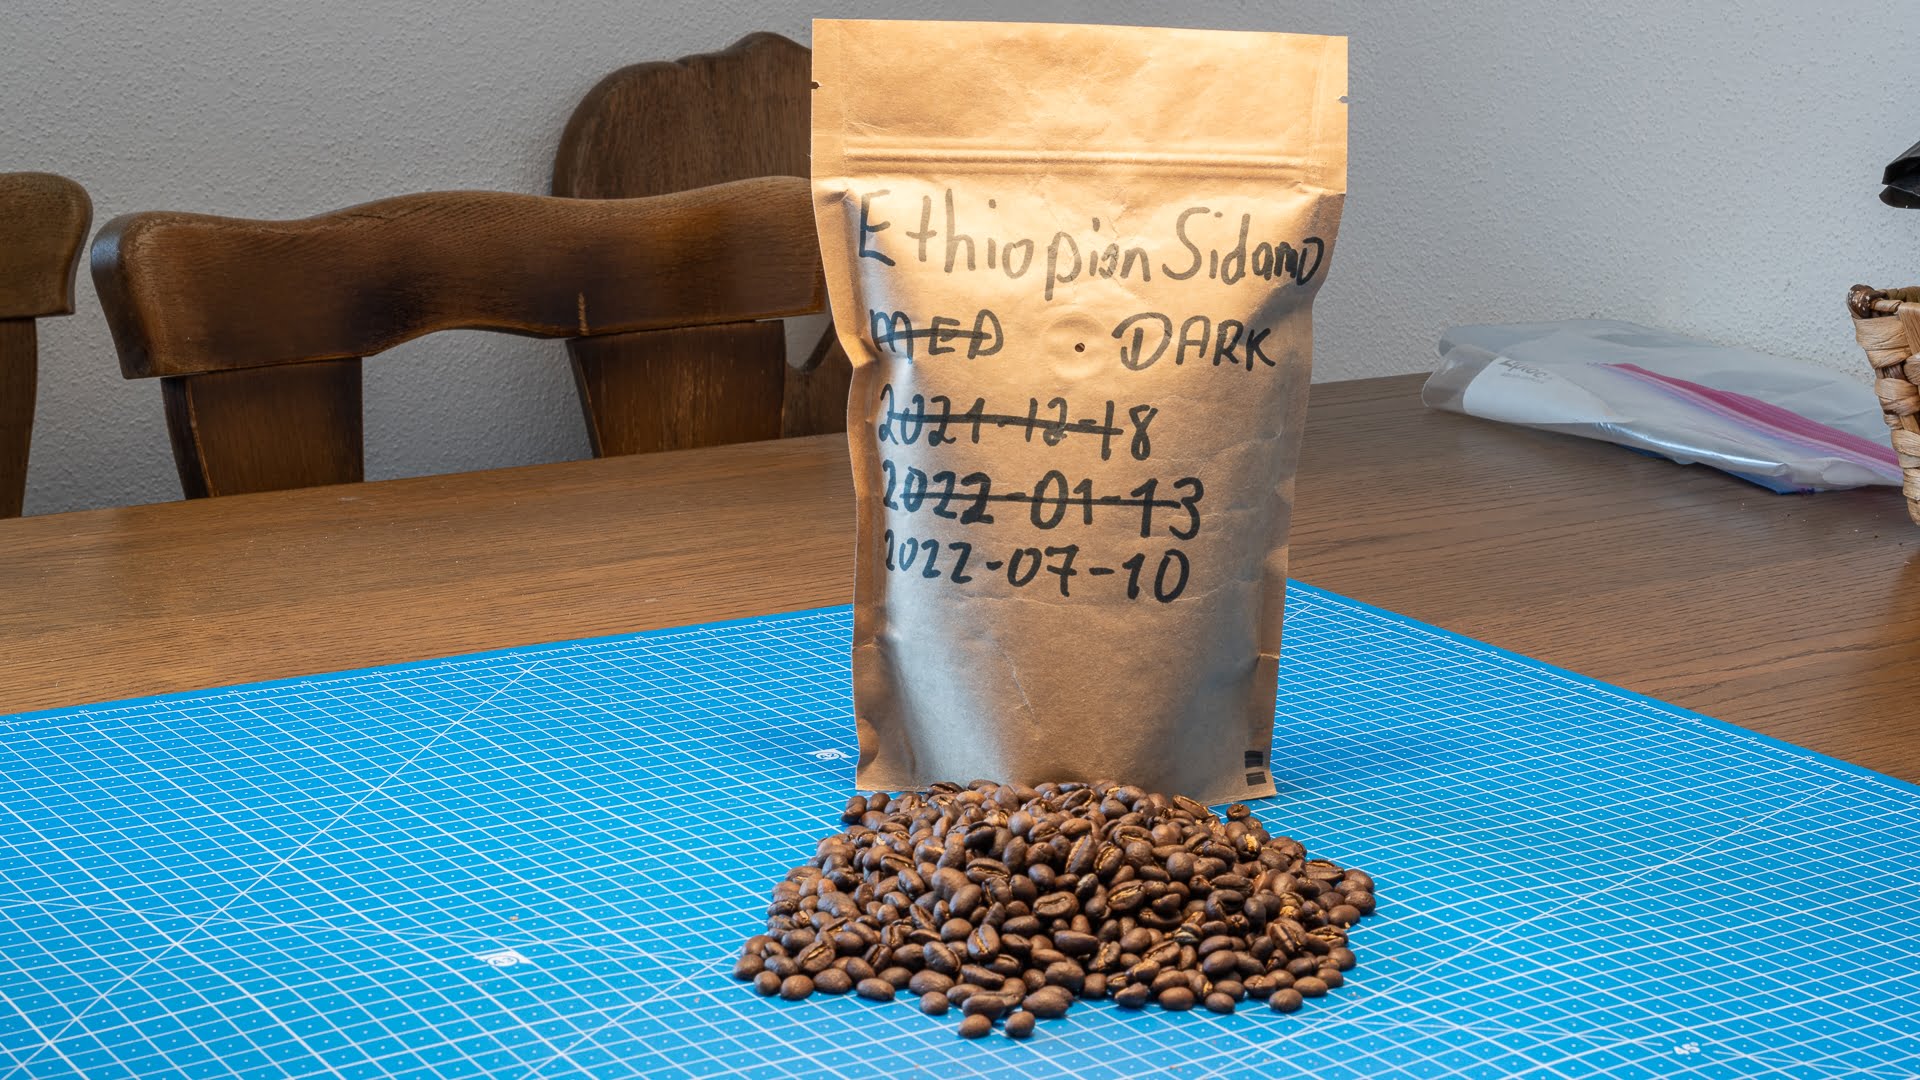
It can take a bit of time for freshly roasted coffee to off-gas CO2 and reach its optimal flavour. Unlike fine wines, this process takes only a couple of days rather than several years. After that point, the quality of the roasted coffee degrades quickly. This is one of the advantages of home-roasted coffee: one knows precisely how old the roast is, and I can adjust my roast quantity and frequency to ensure that I’m always grinding fresh beans that are in the middle of their best-use-by period.
Grinding and degustation
I need to wait a couple of days before this batch is ready, but the blog post here shows some details on the preparation process.
…
I ran out of my previous batch today, so after only 3 days, I’ve made my first coffee from this roast: